The Verification Utility allows you to select and view applications for verification, print notification letters, and update verification statuses. The Verification Utility screen appears as shown below:

If you have already created a Verification set for the desired School Year, you can open that Verification by selecting the appropriate School Year from the drop-down menu and clicking Select.
If you have not already created a Verification set for the desired School Year, select the desired School Year and click Start Verification.
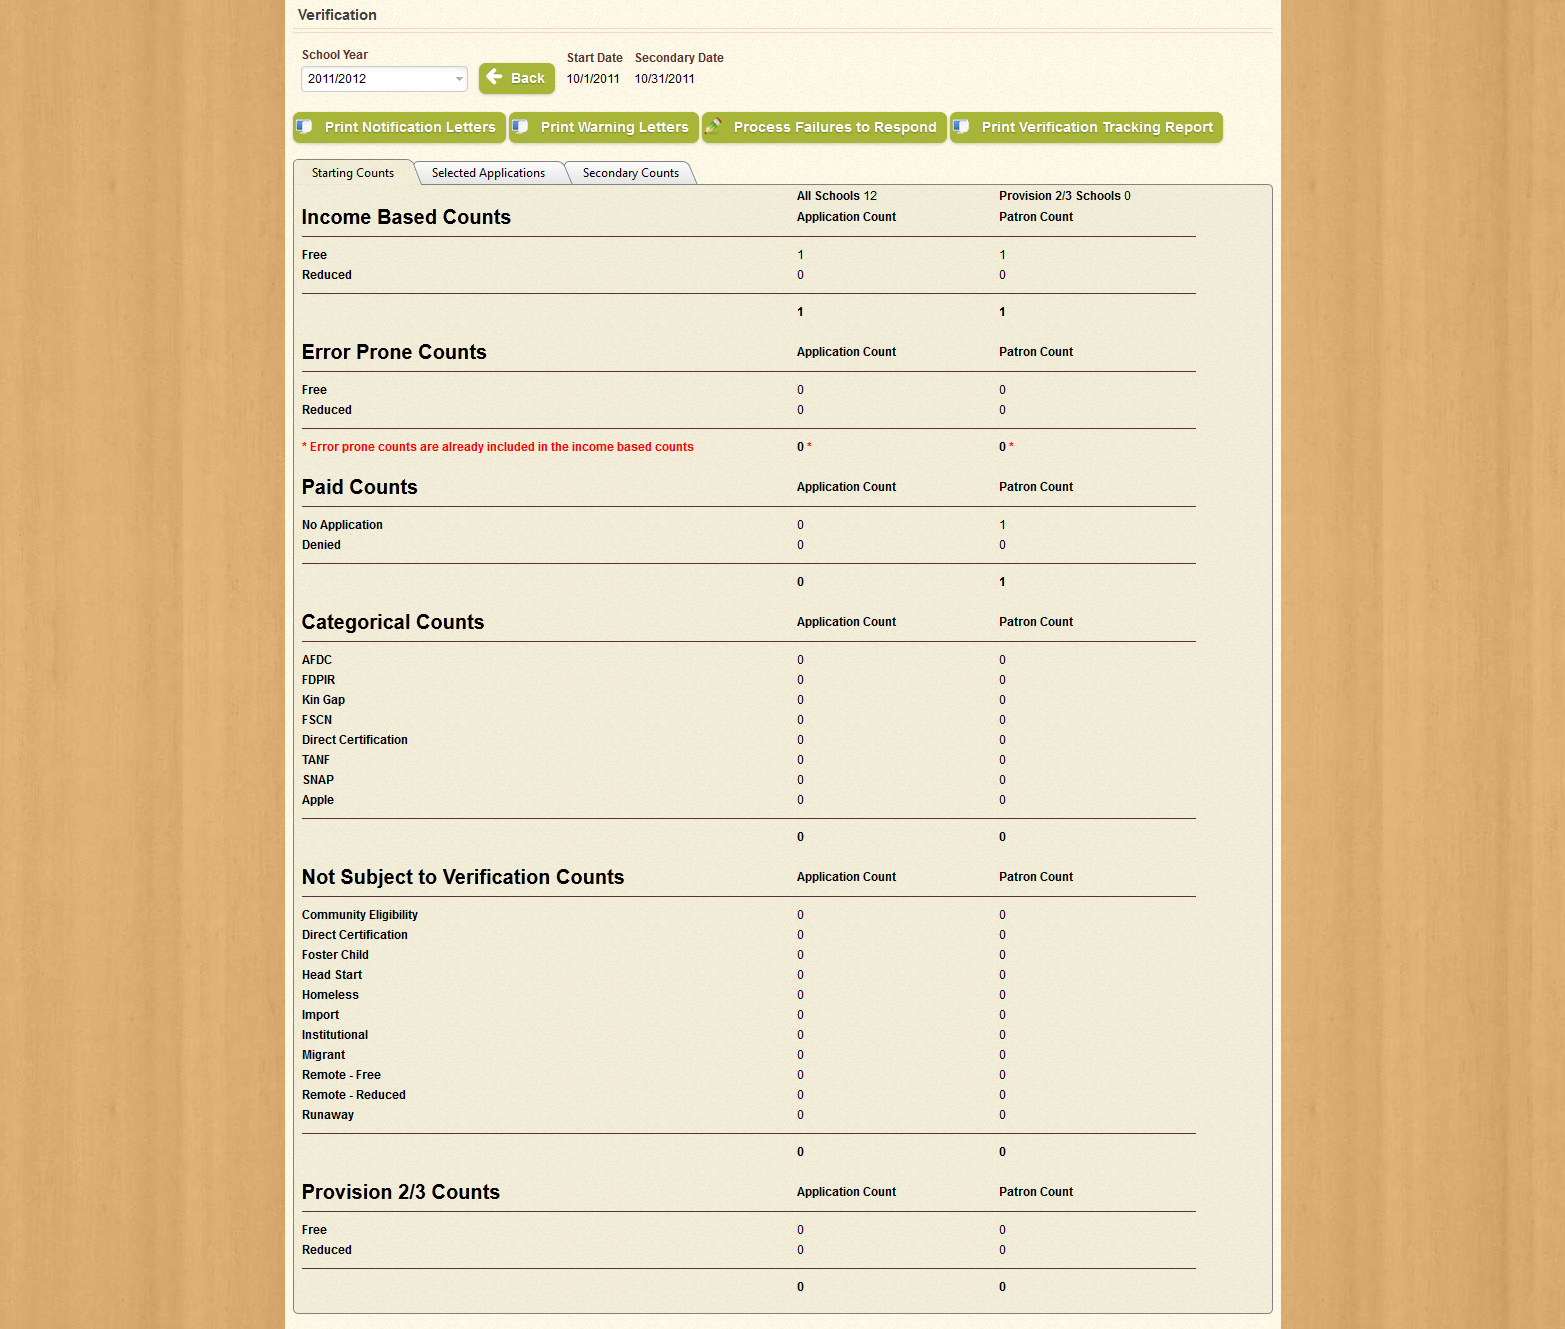
Clicking Start Verification or Select in the Verification section opens the Verification screen for the selected School Year, as shown below:

| Important! | Fields marked with * are required; you will not be able to continue until all required fields have been filled. |
| Field Name | Description |
|---|---|
| School Year | Displays the School Year for which the current Verification applies. |
| Start Date | Displays the starting date of Verification. |
| Secondary Date | Displays the final date of Verification. |
At the top of the Verification screen, directly below the section labeled Verification, is the Print section, as shown below:

Click Print Notification Letters to send Notification Letters to the Job Queue for all selected Applications. Click Print Warning Letters to send Warning Letters to the Job Queue for all selected Applications that have a status of Notified. Click Mark All Notified as Failure to Respond to set the Verification status of all Notified Applications as Failure to Respond. Click Print Verification Tracking Report to send a Verification Tracking Report for the current Verification to the Job Queue.
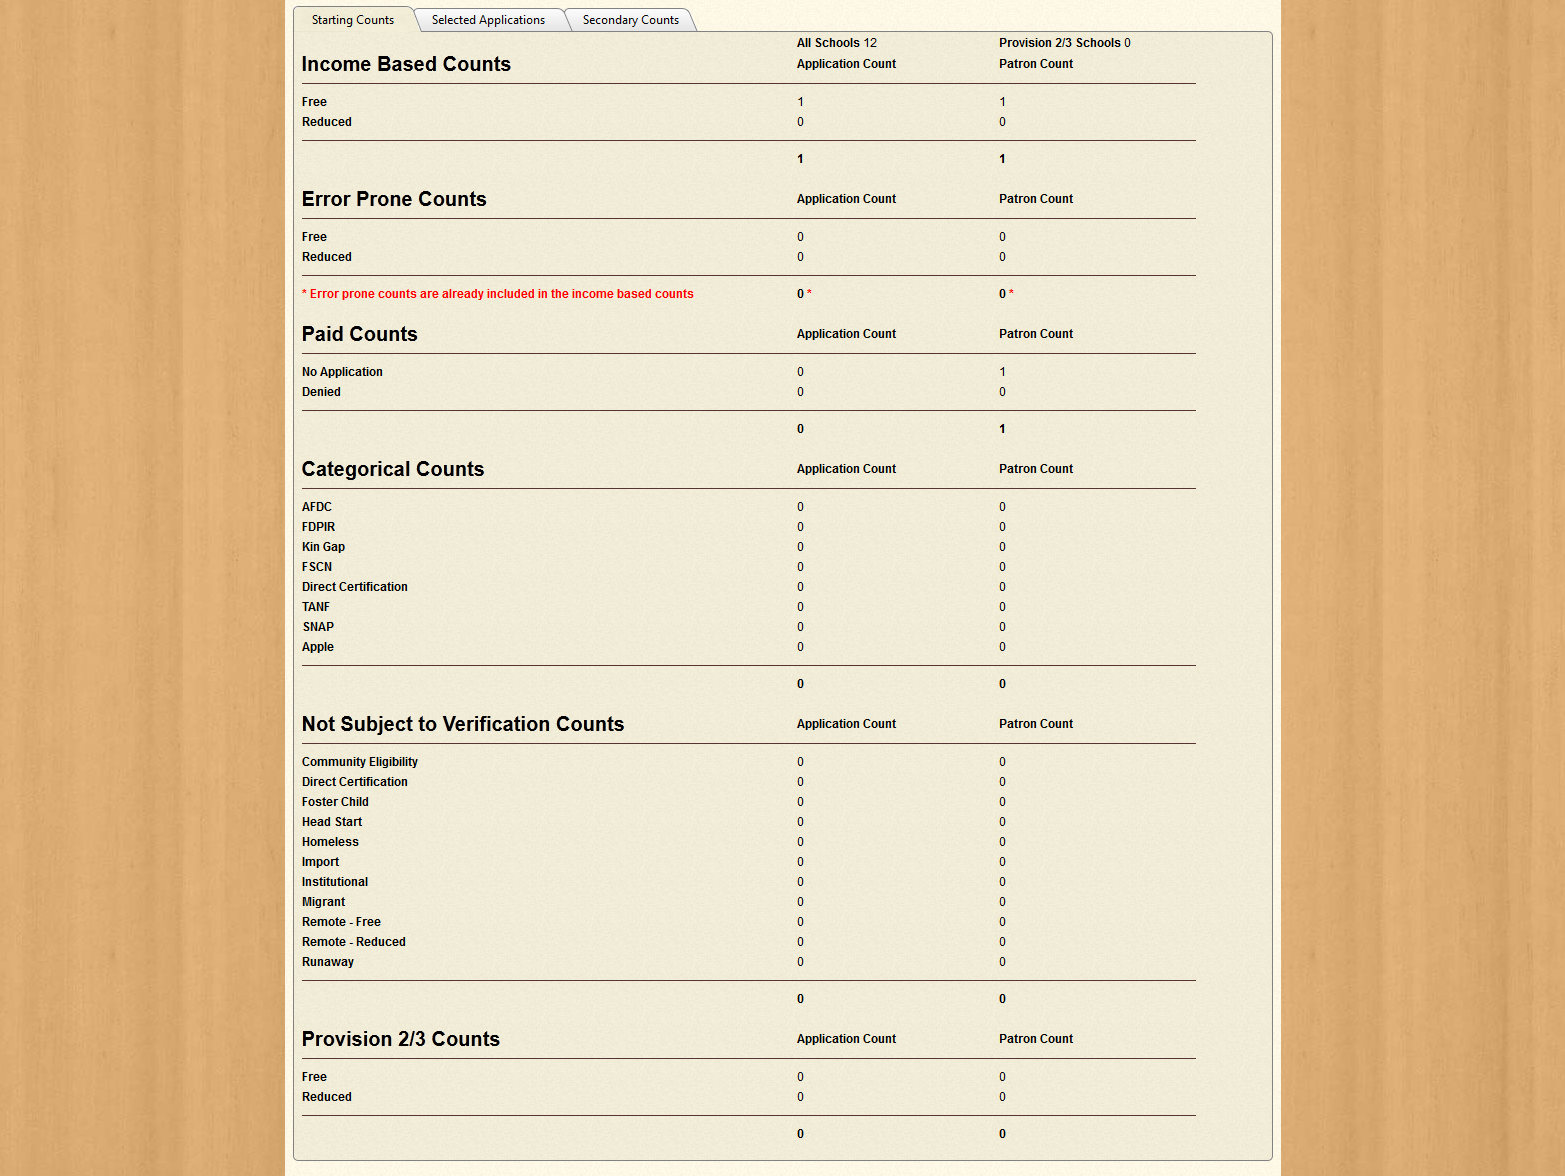
When you open Verification for a School Year, the Starting Counts tab will be active, as shown below:

Displayed are the number of Applications (in the second column) and Patrons (in the third column) that are Income Based, Error Prone, Paid, Categorical, Not Subject to Verification, or part of Provision 2 or Provision 3. Counts are further broken down by Application Type, Benefit Type, and Status Type.
Clicking the middle tab in Verification opens the Selected Applications section, as shown below:

You can search for the Applications that have been selected for Verification using the fields and drop-down menu provided. When you have set your desired search filters, click Search to generate a list of selected Applications that match the information you provided, as shown below:

You can sort the list by Patron ID, Application number, Last Name, First Name, Verification Status, Source, or the date on which the Patron was last sent a Notification, Warning, or Final Letter, as well as the Completion date, by clicking the column headers. Click the  icon to view the Patron Application for the selected Patron; click the
  icon to remove the selected Patron from Verification.
You can also click Add Applications to manually add Applications to Verification.
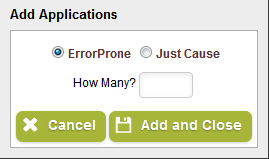
Clicking Add Application opens the Add Applications window, as shown below:

Select either Focused or Just Cause to determine what kind of Applications you wish to select for Verification. If you are selecting Focused Applications, which are selected based on Verification Type, enter the number of Applications you wish to select using the field provided. If you are selecting Just Cause Applications, all Applications flagged as Just Cause will be selected.
Click Add and Close to select the specified Applications and close the window; click Cancel to close the window without selecting any Applications. Note that Applications added using this feature will display "Manual Add" in the Source column.
| Field Name | Description |
|---|---|
| Last Name | Displays the Last Name of the Patron on the selected Application. |
| Application Number | Displays the Application Number of the selected Application. |
| Patron ID | Displays the Identification Number of the Patron on the selected Application. |
| Status | Displays the selected Application's Verification status, such as Notified or Completed. |
| Applications Required | Displays the number of Applications that are Required based on the percentage of total Applications, as designated on the Verification Configuration screen. |
| Patrons Selected | Displays the number of Patrons on Applications that have been selected for Verification. |
| Focused | If this option is selected, Applications will be selected based on the Verification Type that was assigned on the Verification Configuration screen. |
| Just Cause | If this option is selected, all Applications that have been flagged as "Just Cause" will be selected for Verification. |
| How Many? | Enter the number of Applications that will be selected. |
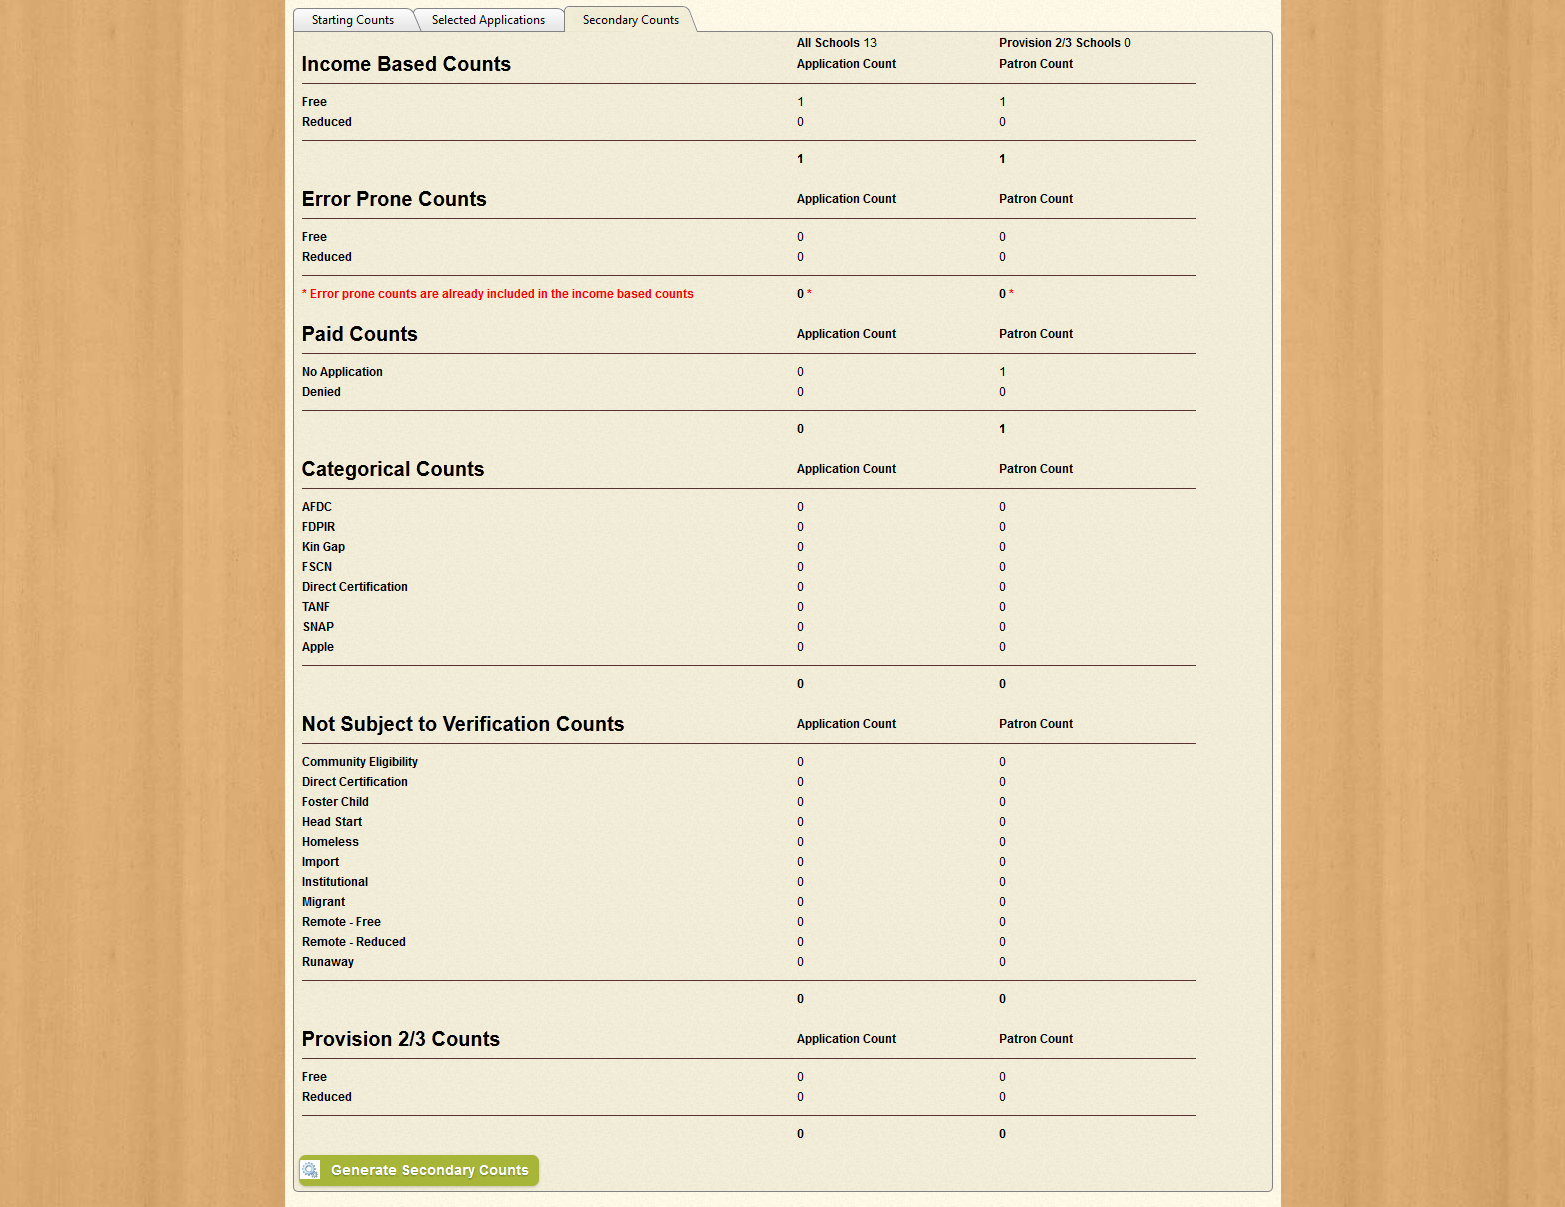
Clicking the Secondary Counts tab opens the Secondary Verification Count section, as shown below:

Until you click Generate Secondary Counts, this section will not display any data. Click Generate Secondary Counts to create the Verification data as of the current date, as shown below:

Displayed are the number of Applications (in the second column) and Patrons (in the third column) that are Income Based, Error Prone, Paid, Categorical, Not Subject to Verification, or part of Provision 2 or Provision 3. Counts are further broken down by Application Type, Benefit Type, and Status Type. The data in this section is current as of the last time you clicked Generate Secondary Counts.