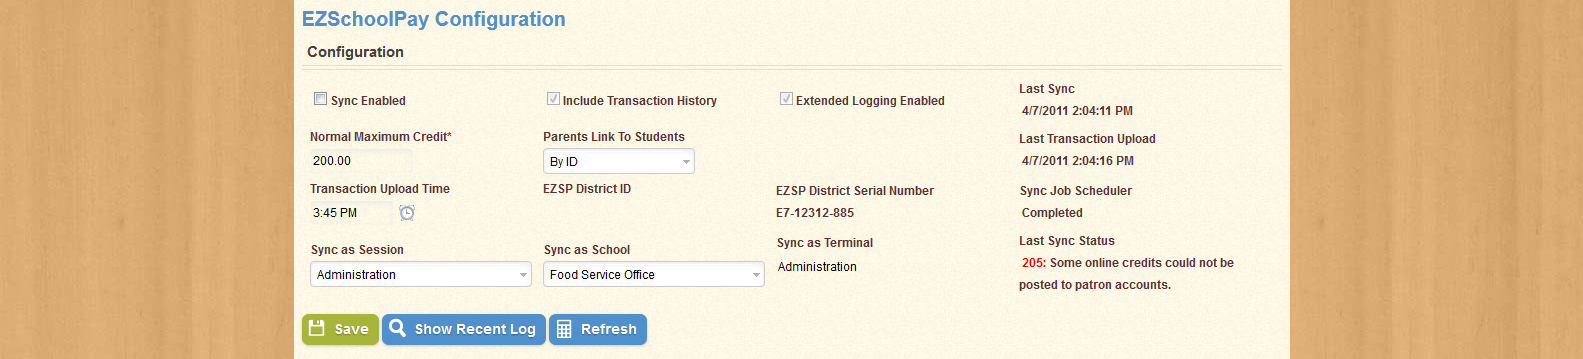
Use the EZSchoolPay page to set up an EZSchoolPay account to sync with the district. The page appears as shown below:
Note that all of the fields are inactive; this is because the Sync Enabled box is unchecked. When you begin the setup process for your EZSchoolPay account, you will not be able to change any of the information on this screen because there is no account with which the information is synced.
To enable Syncing, check the Sync Enabled box. The screen will shift to look like this:
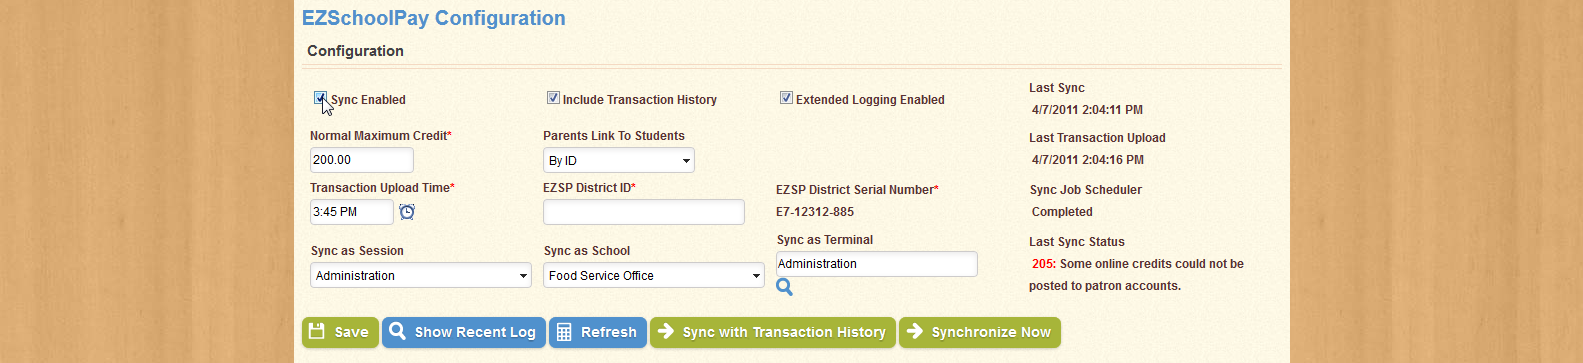
Note that all the fields are now active. You can set a Normal Maximum Credit, Transaction Upload Time, Parents' Link to Students, Sync Session, Sync School, and Sync Terminal. You can now also enter your District ID as it appears on your EZSchoolPay account.
There are also some areas of the section which are still uneditable. These bold-text areas list information that cannot be changed, such as the EZSP District Serial Number, which is automatically generated based on zip code, the Last Sync, Last Transaction Upload, Sync Job Scheduler, and Last Sync Status. These areas include information that is generated automatically, in relation to previous syncs.
You can also enable Extended Logging, which expands the amount of information that is logged during each sync, and include a Transaction History. Note that if the Include Transaction History box is unchecked, the Transaction Upload Time field will be inactive; a Transaction History is only uploaded once per day (at a specific time).
Click Save to keep the changes you've made. Click Refresh to regenerate the information on this screen; you might want to do this to check on the status of a sync in progress.
| Field Name | Description |
|---|---|
| Sync Enabled | Indicates whether or not the application is enabled for synchronization. |
| Include Transaction History | Indicates whether or not Transaction History will be included in logging. |
| Extended Logging Enabled | Indicates whether or not extended logging is enabled. |
| Normal Maximum Credit | The maximum credit that can be applied to a patron's account at one time. |
| Parents Link to Students | Indicates the method of linking from parents to students. |
| Transaction Upload Time | Displays the time of day when Transaction Upload will occur automatically. |
| EZSP District ID | The Identification Number for the district, used to create the EZSchoolPay District Serial Number. |
| EZSP District Serial Number | Displays the district's EZSchoolPay District Serial Number. |
| Sync as Session | Indicates the Session that will be used for synchronization. |
| Sync as School | Indicates the School that will be used for synchronization. |
| Sync as Terminal | Indicates the Terminal that will be used for synchronization. |
| Last Sync | Displays the time and date of the most recent synchronization. |
| Last Transaction Upload | Displays the time and date of the most recent transaction upload. |
| Sync Job Scheduler | Displays the status of synchronization to the Job Scheduler. |
| Last Sync Status | Displays the status of the most recent synchronization. |
Click the Show Recent Log button to open the Recent Log Entries screen, as shown below:
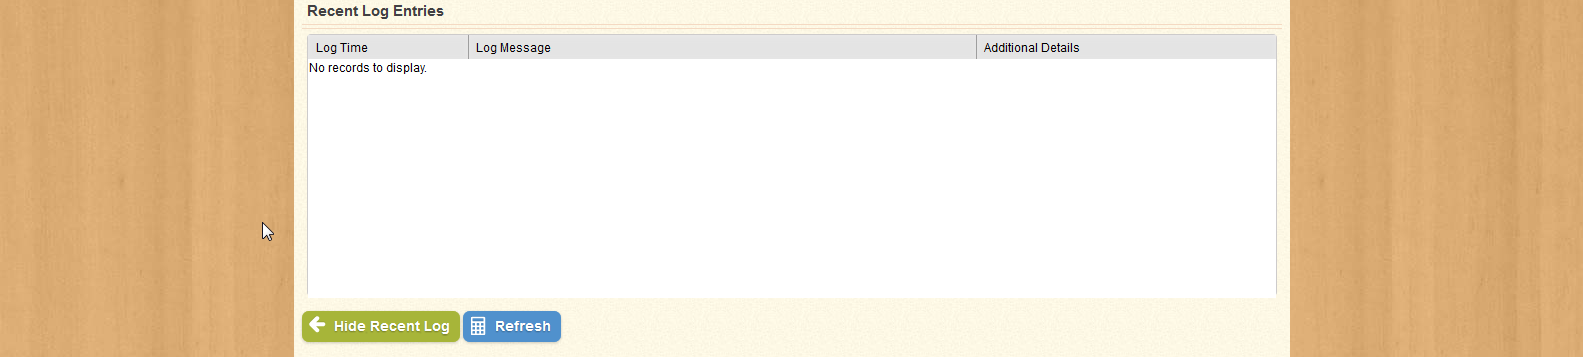
Use this page to view the recent log entries from previous syncs. The list will show all the log entries from the past two days, up to a maximum of one-hundred entries. You can sort the entries by Log Time, Log Message, or Additional Details.
Click Refresh to regenerate the list of entries, or click Hide Recent Log to return to the previous screen.
| Field Name | Description |
|---|---|
| Log Time | Displays the time and date for the selected log entry. |
| Log Message | Displays the message associated with the selected log entry. |
| Additional Details | Displays any addiitonal information for the selected log entry. |
The synchronization process occurs automatically every ten minutes when Syncing is Enabled. You can also initiate a Sync manually by clicking the Synchronize Now button. You can also initiate a Sync that includes the Transaction History by clicking Sync with Transaction History.