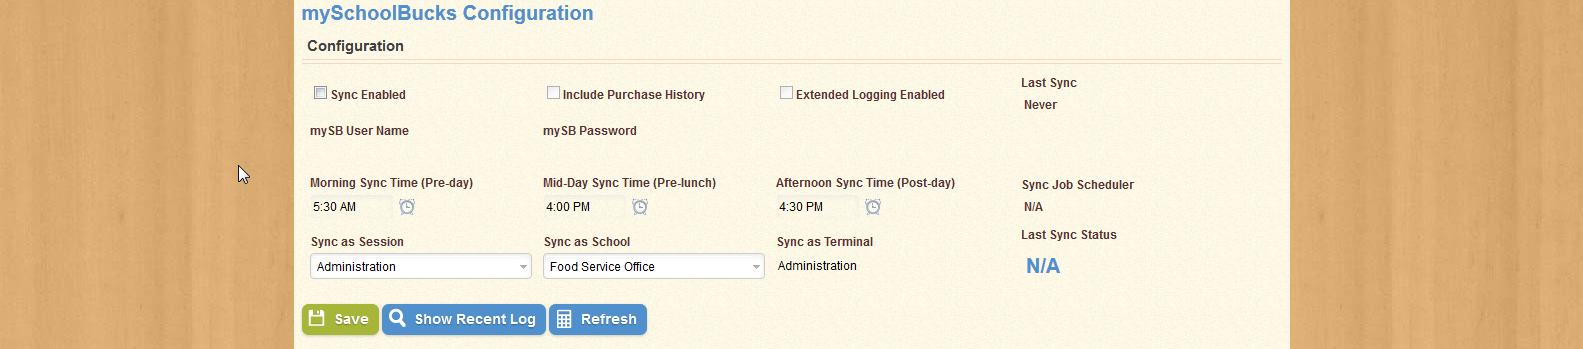
If you are using mySchoolBucks, you will need to configure the application to synchronize with the mySchoolBucks service. The mySchoolBucks Configuration screen is shown below:
To enable Synchronization, select the check-box labeled Sync Enabled. Doing so will activate the rest of the fields in this section, as shown below:
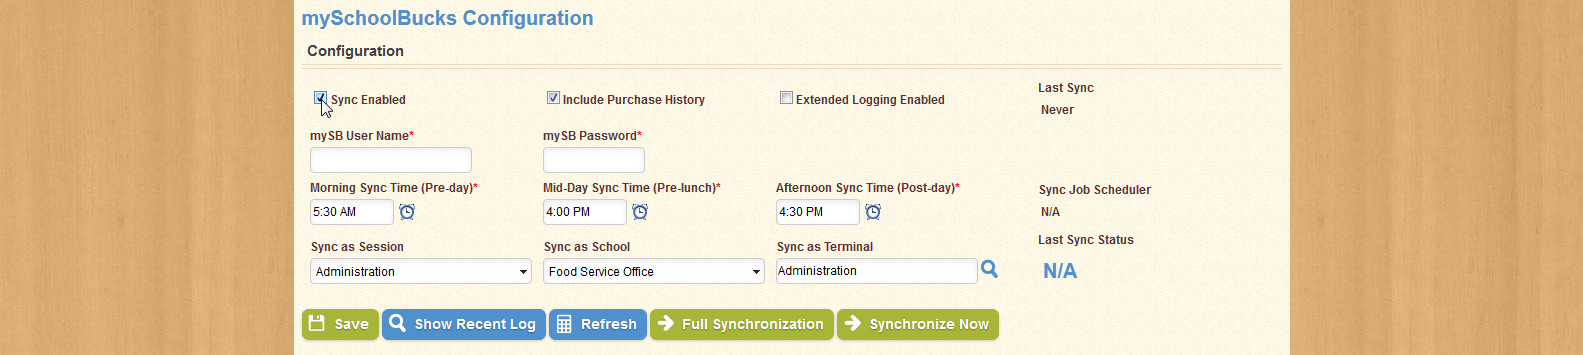
Use the fields provided to enter your mySchoolBucks User Name and Password, a Morning, Mid-Day, and Afternoon Sync Time, and a Terminal. Use the drop-down menus provided to select a Session and School. You can also select Extended Logging Enabled to allow synchronization to create a full log at the time of synchronization. Selecting Include Purchase History will allow synchronization to include the Purchase History when creating the log.
When you have configured the options, click Save to keep the changes you made; click Synchronize Now to perform a synchronization immediately; click Full Synchronization to perform a synchronization of...
Click Refresh to reload this page. Click Show Recent Log to display a list of log entries from the most recent synchronization.
| Important! | Fields marked with * are required; you will not be able to continue until all required fields have been filled. |
| Field Name | Description |
|---|---|
| Sync Enabled | |
| Include Purchase History | |
| Extended Logging Enabled | |
| Last Sync | |
| mySB User Name | |
| mySB Password | |
| Morning Sync Time (Pre-day) | |
| Mid-Day Sync Time (Pre-lunch) | |
| Afternoon Sync Time (Post-day) | |
| Sync Job Scheduler | |
| Sync as Session | |
| Sync as School | |
| Sync as Terminal | |
| Last Sync Status |
You can enter a Terminal name if you know the name of the desired Terminal, or you can click the  icon next to the Terminal field to open the Select Terminal(s) window, as shown below:
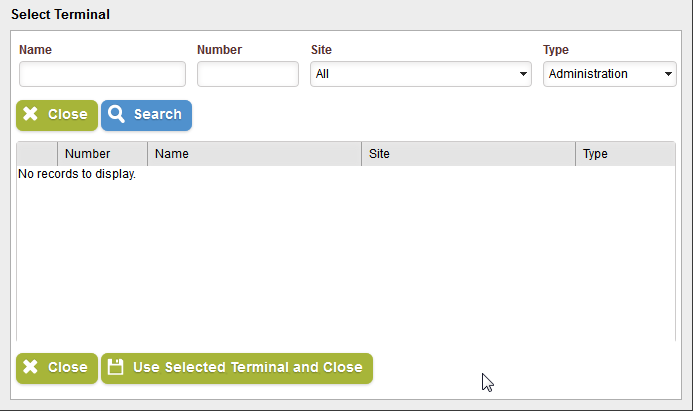
Use the fields and drop-down menus provided to narrow your search by Name, Number, Site, and Type. Click Search to generate a list of possible Terminals based on the information you provided, as shown below:
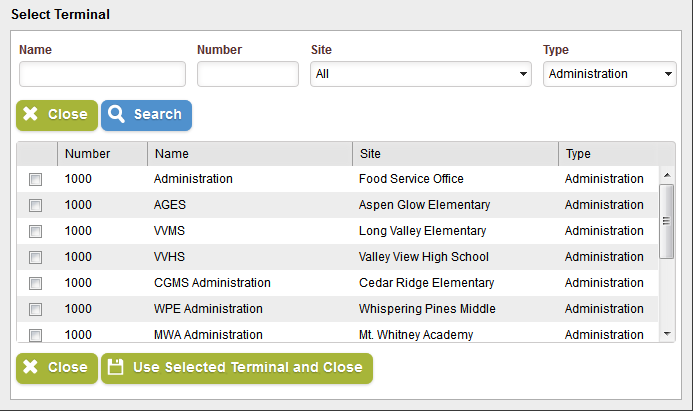
Use the check-boxes in the first column to select the Terminal you wish to use, and click Use Selected Terminal and Close to enter the Terminal Name to the Terminal field. Clicking this button also closes the screen; you may instead click Close to close the screen without selecting a Terminal. Note that you must have a Terminal selected in order to perform a Synchronization.
| Field Name | Description |
|---|---|
| Name | |
| Number | |
| Site | |
| Type |
Clicking Show Recent Log opens the Recent Log Entries screen as shown below:
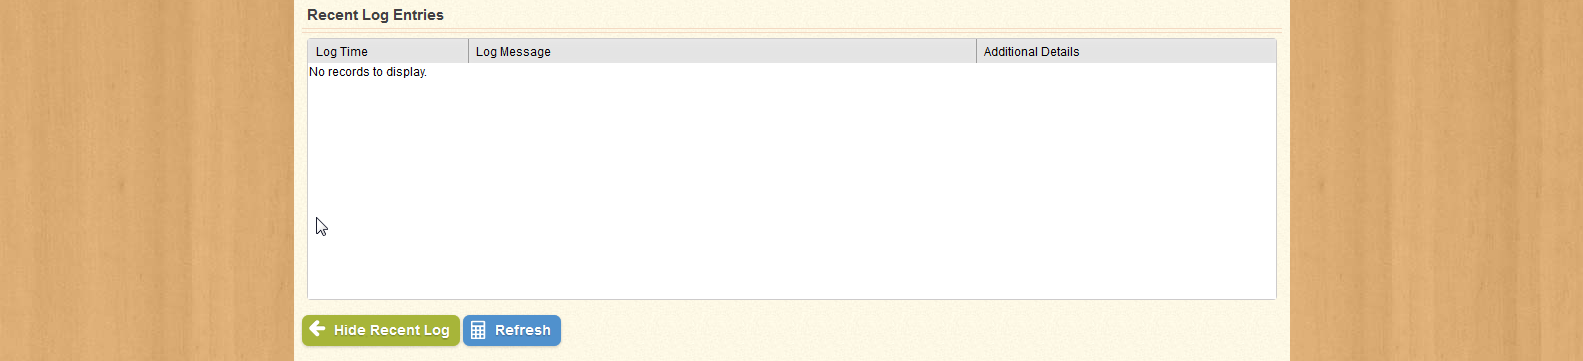
Note that if no synchronization has been performed, the list will be empty. After synchronization, the section will be populated with log entries from the most recent synchronization. Clicking Refresh reloads the screen. Click Hide Recent Log to return to the Configuration screen.
| Field Name | Description |
|---|---|
| Log Time | |
| Log Message | |
| Additional Details |