How-To: Calendars
Calendars affect a number of crucial elements within eTrition7. Without an active Calendar, the Point of Sale will not recognize serving days, sales cannot be reported, patrons cannot be enrolled, and applications for Free/Reduced Price eligibility cannot be processed. You will need to create a new calendar date range for each school year, and you may have some schools that utilize a different calendar type. The sections below describe the different steps to creating and setting up a new calendar in your system.
Creating a new Calendar Type
Follow these steps to create a new Calendar Type:
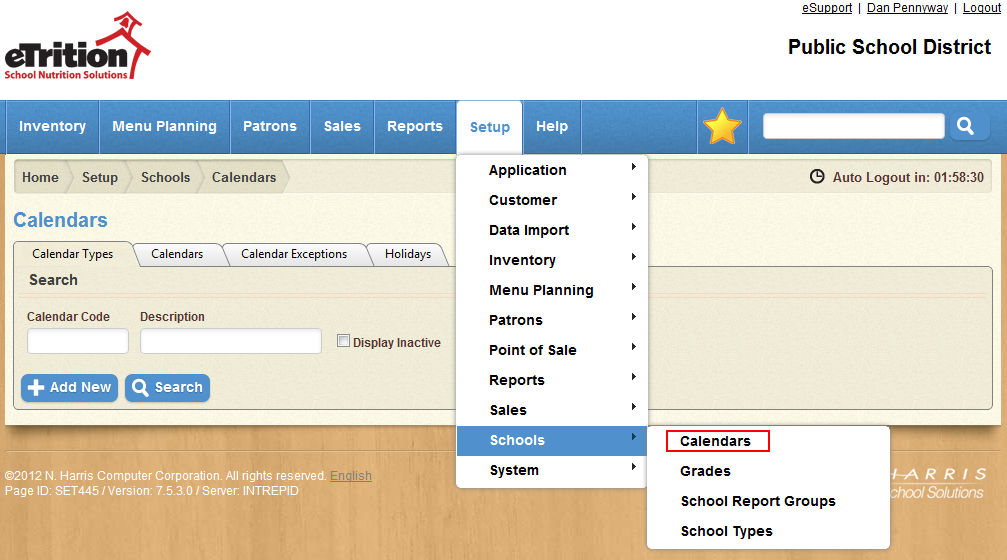
- Navigate to Setup > Schools > Calendars.

- In the Calendar Types tab, click Add New.

- Enter the calendar type’s abbreviated name in the Calendar Code field, and the full name in the Description field. Enter a new Sort Order value if desired.

- If you wish to set this calendar type as a default for new enrollments, select the Default Calendar option.

- In the Application Expiration Dates section, click “Add New Application Expiration Date”.

- In the modal window that appears, select a School Year from the drop-down list and enter the desired date in the Application Expiration Date field.

- Click Save to close the window and add the expiration date to the table.

- Repeat steps 5 through 7 as needed for additional school years, if desired.
- Click Save.

Setting up a calendar date range
Once you have created a calendar type, you will need to assign a calendar date range for each school year before you can enroll patrons during that school year.
Follow these steps to set up a new calendar date range:
- In the Calendars tab, click Add New.

- In the modal window that appears, select the desired Calendar Type and School Year from the drop-down lists provided.

- Enter a Start Date and End Date in the fields provided, or use the calendar icon to select a date for each of these fields.

- Click Save.

Assigning calendar exceptions
Some schools may utilize professional development days or other calendar exceptions, in which the school does not serve meals as normal. Alternatively, some schools might serve meals on a weekend or other day that is normally a non-serving day. These calendar exceptions are created on the Calendar Exceptions tab.
Follow these steps to create a new calendar exception:
- In the Calendar Exceptions tab, click Add New.

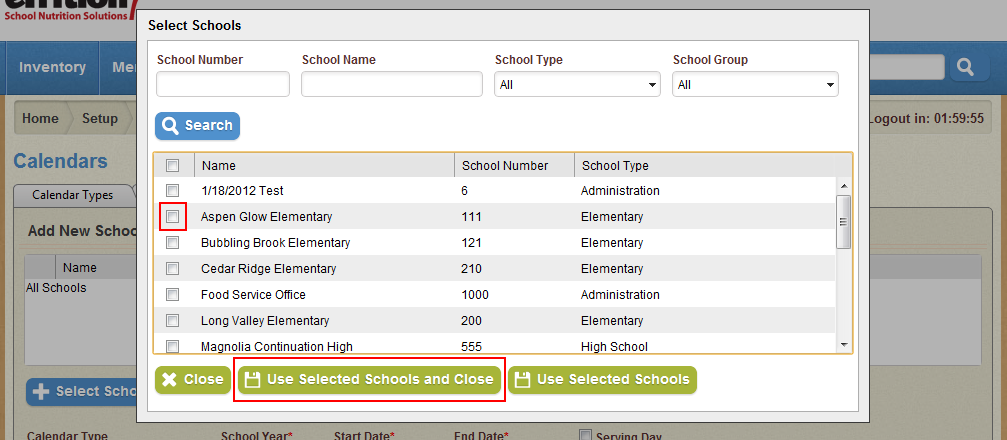
- To specify only certain schools to be affected, click Select Schools. Otherwise, skip to step 4.

- In the modal window that appears, use the search tool to locate and select the desired schools. Click Use Selected Schools to add them to the table.

- To specify only certain calendar types to be affected, select the desired Calendar Types from the list using the check-boxes provided. Otherwise, skip to step 5.

- Select the desired School Year from the drop-down list provided.

- Enter or select the Start Date and End Date using the fields provided.

- To allow meal service during the calendar exceptions, select Serving Day. To not allow meal service during the calendar exceptions, do not select Serving Day.

- Click Save.

Designating Holidays
Holidays are district-wide non-serving days that affect all calendar types and schools.
Follow these steps to create a new holiday:
- In the Holidays tab, click Add New.

- In the modal window that appears, enter a Description for the holiday.

- Select the desired School Year from the drop-down menu provided.

- Enter or select a Start Date and End Date for the holiday.

- Click Save.


