How-To: Calendar Menus
Once you have created one or more recipes, you can create calendar menus, which are used for scheduling production and serving of meals. Follow these steps to create a new calendar menu:
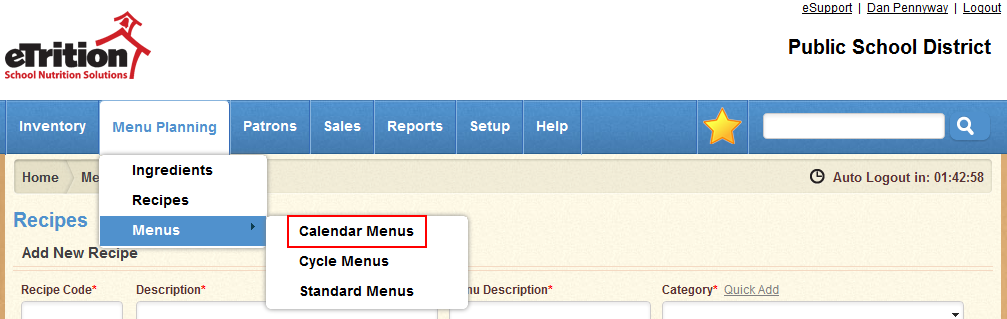
- Navigate to Menu Planning > Menus > Calendar Menus.
- Click "Add New".
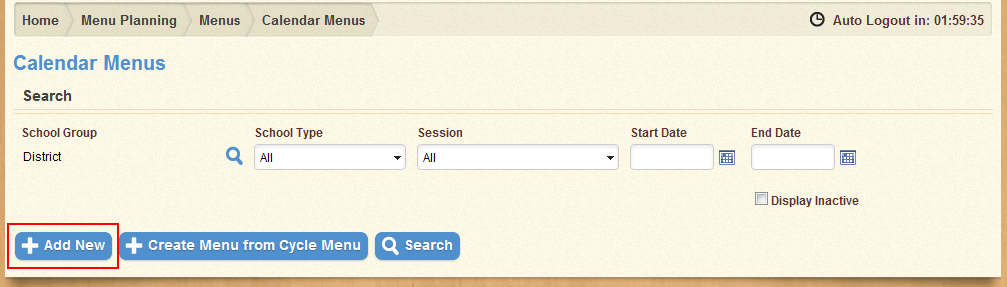
- Fill in the Serving Date and Feeding Figure fields. Select a School Type and Session from the drop-down menus provided. Select a School Group using the magnifying glass icon.

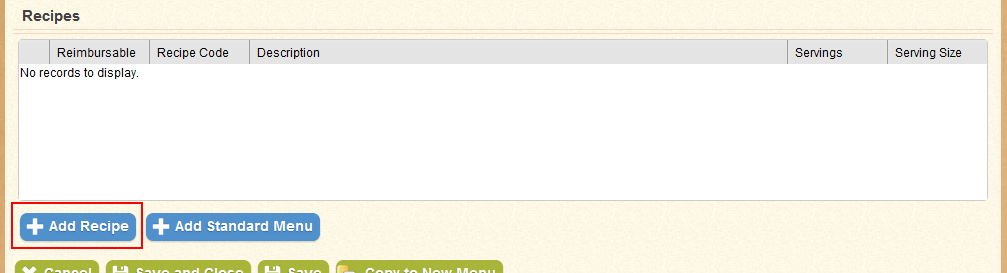
- In the recipes table, click "Add Recipe" to add a new recipe to the table.
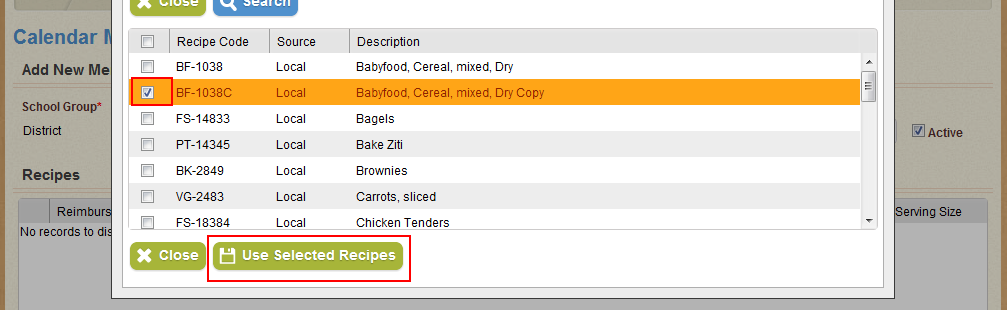
- In the pop-up window that appears, use the search fields to locate the desired recipe, and click "Search".
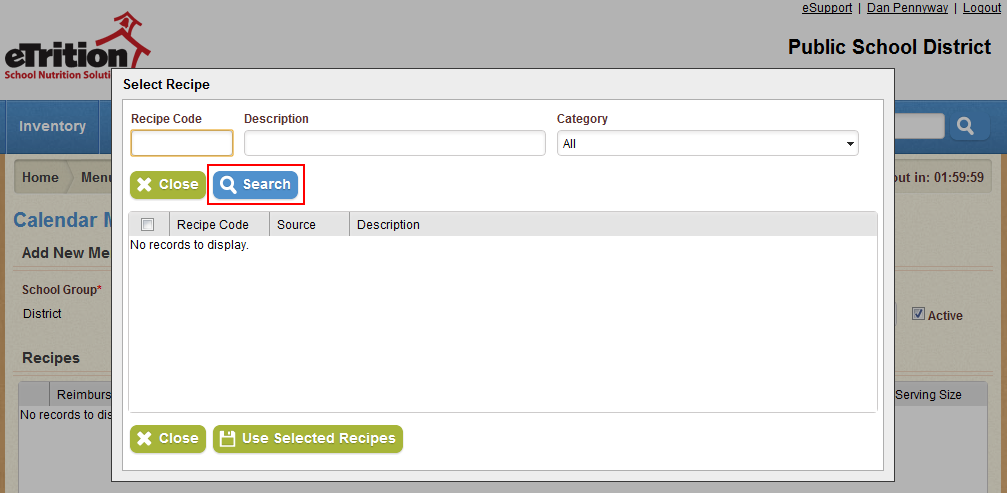
- Use the check-boxes in the left-hand column to select the desired recipe or recipes. Click "Use Selected Recipes" to add them to the list.
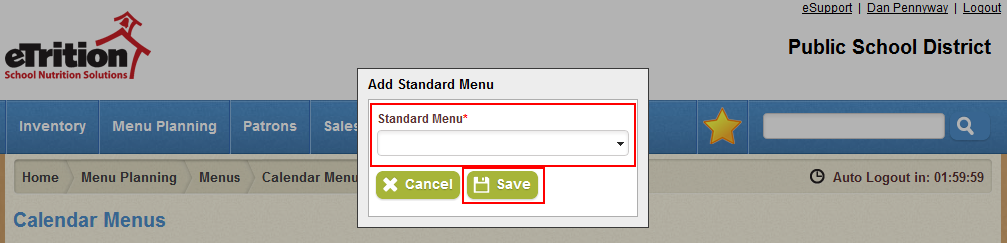
- Click "Add Standard Menu" to add a standard menu's recipes to the table, if you have created a standard menu (you can create new standard menus in Menu Planning > Menus > Standard Menus).

- In the pop-up window that appears, select the desired standard menu from the drop-down menu provided. Click "Save" to add that menu's recipes to the list.
- Enter the number of servings for each recipe in the Servings column.

- Click "Save".
