How-To: Modifying a Patron
Once a patron has been created, you can make changes to any of the sections on that patron’s screen. From here you can:
To begin modifying a patron, follow these steps:
- Navigate to Patrons > Patron Information.
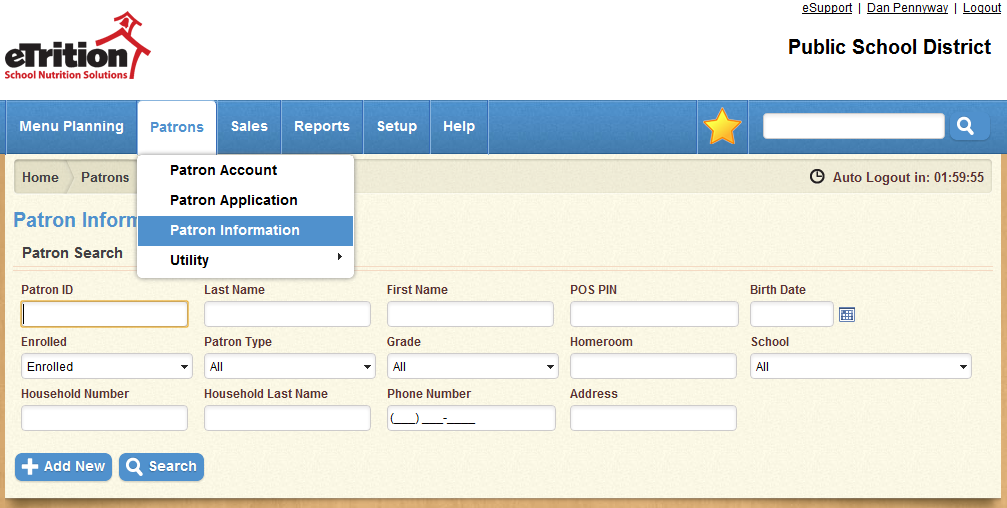
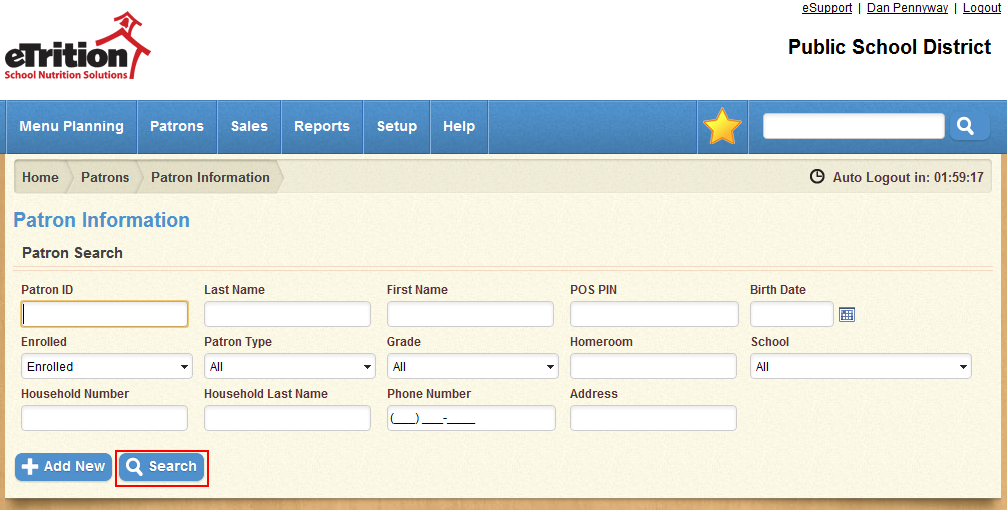
- Use the search tool to locate the desired patron.
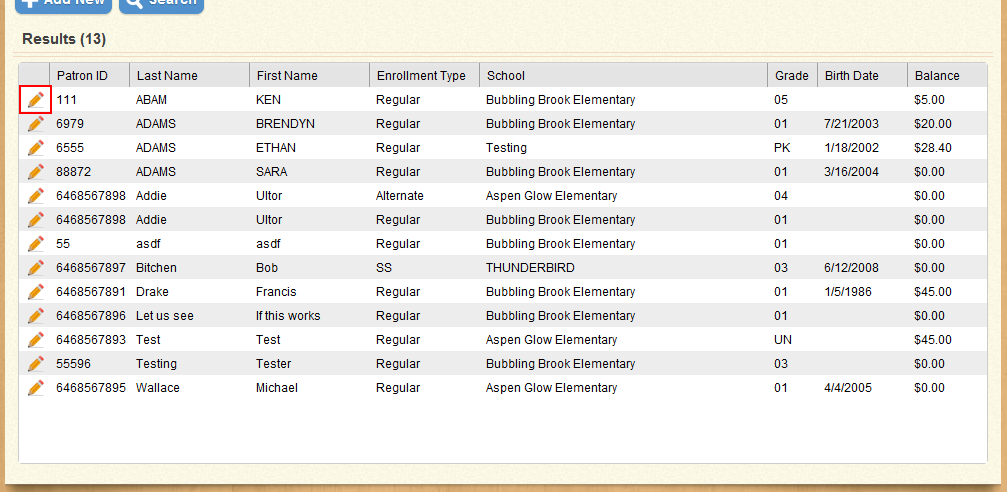
- Click the Edit icon next to the desired patron.
The resulting screen will allow you to modify any of the sections on that screen (See "Patron Information (PAT100)" for more information on these sections). Once you have completed the desired changes, click Save or Save and Close to keep the changes you made.
The following section details how to change a patron's enrollment.
Change a patron's enrollment
The Enrollment section allows you to modify, add, or drop an enrollment for the current patron. To modify an existing enrollment:
- In the Enrollment section, click the Edit icon next to the enrollment you wish to modify.

- In the modal window that appears, make any desired changes to the Homeroom and/or Drop Date fields. Note that if you enter or select a Drop Date that is prior to the current date, the patron’s enrollment will be dropped immediately.

- Click Save to keep the changes you made.

You can also use this window to transfer the patron to a new enrollment using the same enrollment type.
To add a new enrollment:
- In the Enrollment section, click the “Add New” button.

- In the modal window that appears, select the Enrollment Type, School, Grade, Calendar, and Homeroom for the patron’s new enrollment.

- Enter the Start Date for the patron’s new enrollment.

- Click Save to add the new enrollment. Note that if the new enrollment has the same enrollment type as an existing enrollment, the previous enrollment will be dropped as of one day prior to the Start Date of the new enrollment.

To drop the patron from all current enrollments:
- In the Enrollment section, click the “Drop Patron” button.

- In the modal window that appears, enter the date you wish the enrollment to end in the Drop Date field.

- Click Save. All of the patron’s current enrollments will be dropped as of the date you selected.

Add a patron to an existing household
When entering a new patron or modifying an existing one, you can add the patron to an existing household from the Household Information section. Follow these steps:
- In the Household Information section, click the magnifying glass icon beside the Household Number field.
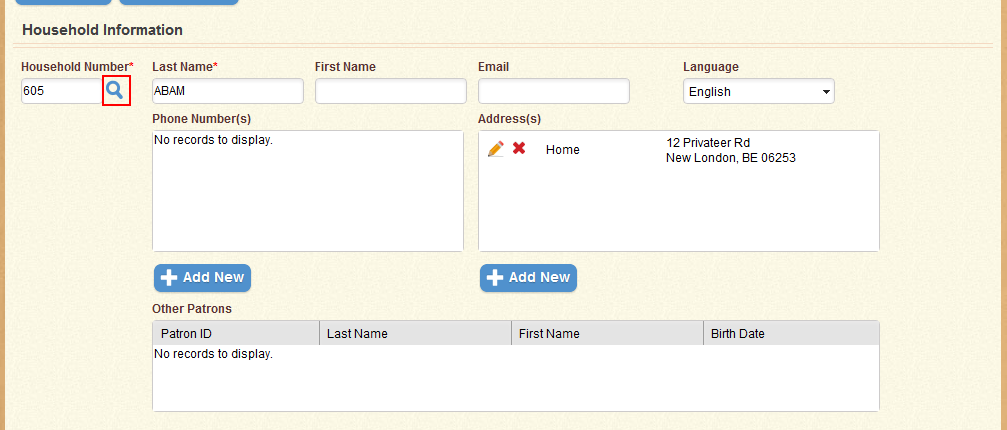
- In the modal window that appears, use the search fields to locate the desired household.
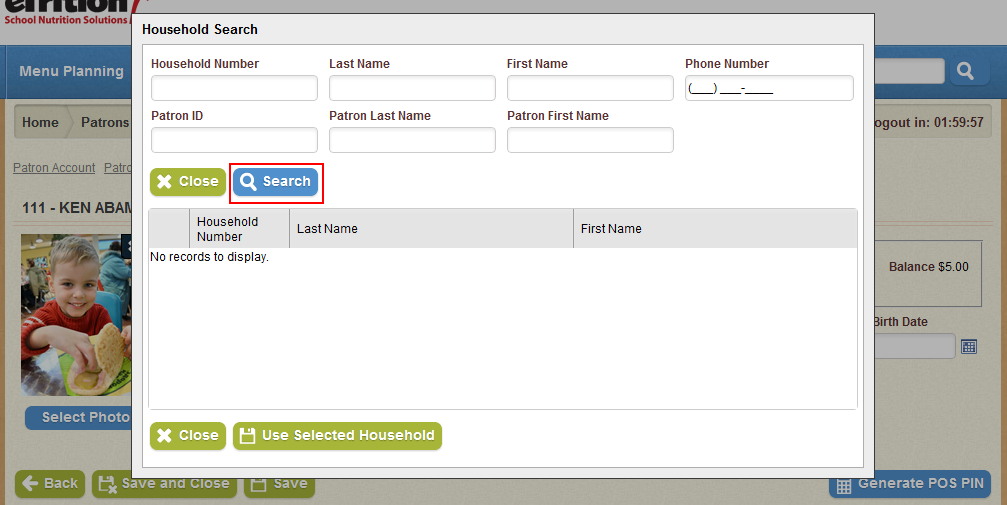
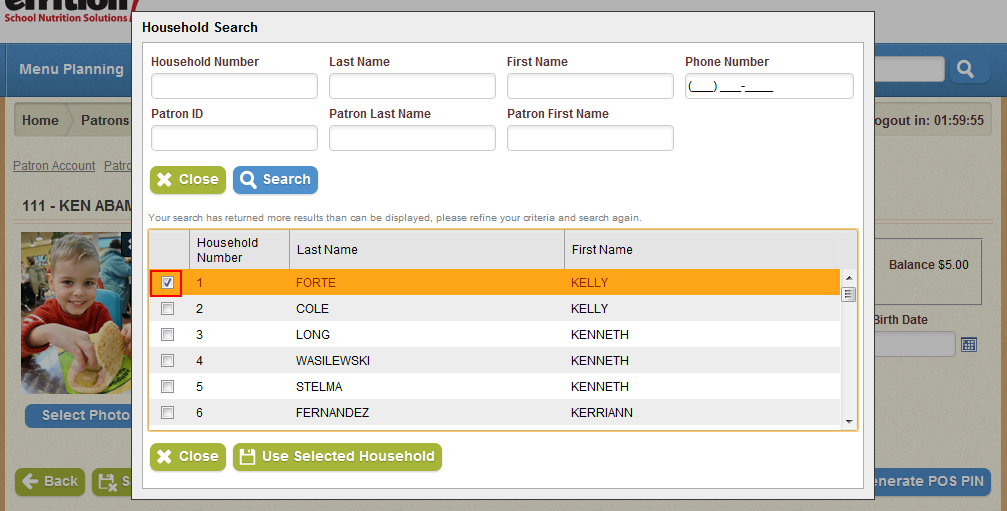
- Select the desired household using the check-boxes in the left-hand column.
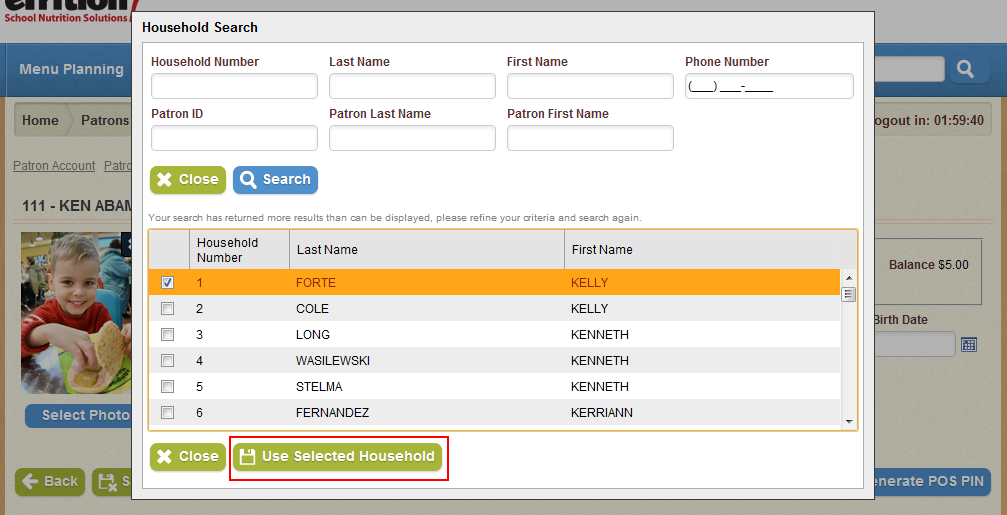
- Click Use Selected Household.
Select a new picture for a patron
When entering a new patron or modifying an existing one, you can select an image that will be associated with that patron's profile in the web service and the Point of Sale. The image must be on your local machine, but may be of any of the following formats: BMP, GIF, JPEG, PNG, TIFF.
To select an image for a patron, follow these steps:
- In the Patron Information section for the selected patron, click the Select button.

- Use the Windows navigation window to locate the desired image on your local machine.
- When you have located and selected the image, click Open.


