How-To: Discounts
There are several steps to setting up discounts in your system. Before you can use discounts, the following steps must be completed:
Create a Discount
In order to use a discount, the discount must first be created. Follow these steps to create a discount in your system:
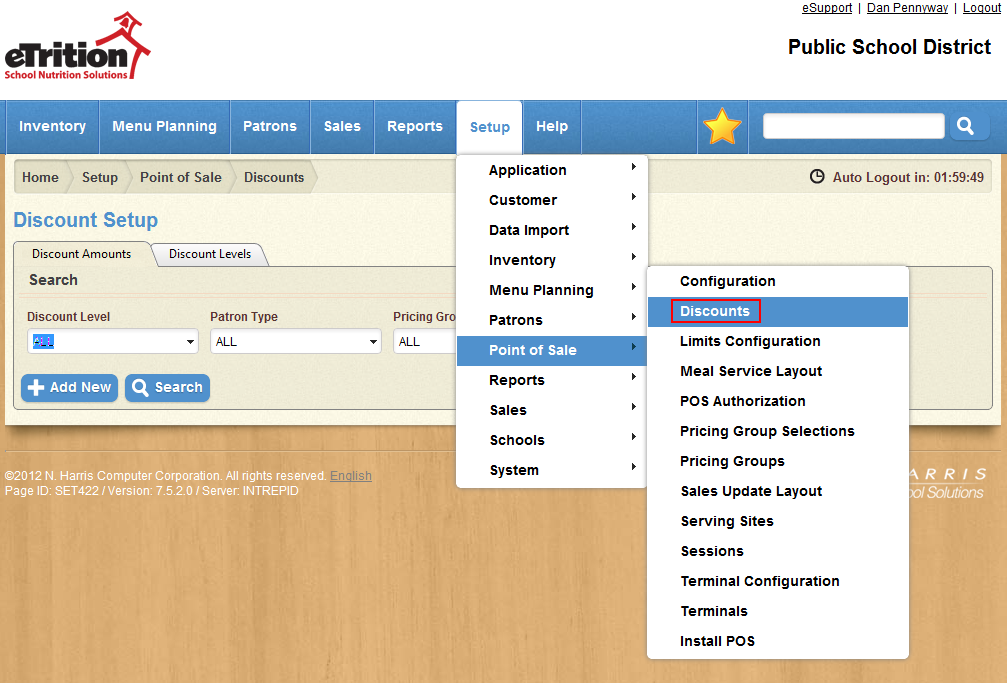
- Navigate to Setup > Point of Sale > Discounts.
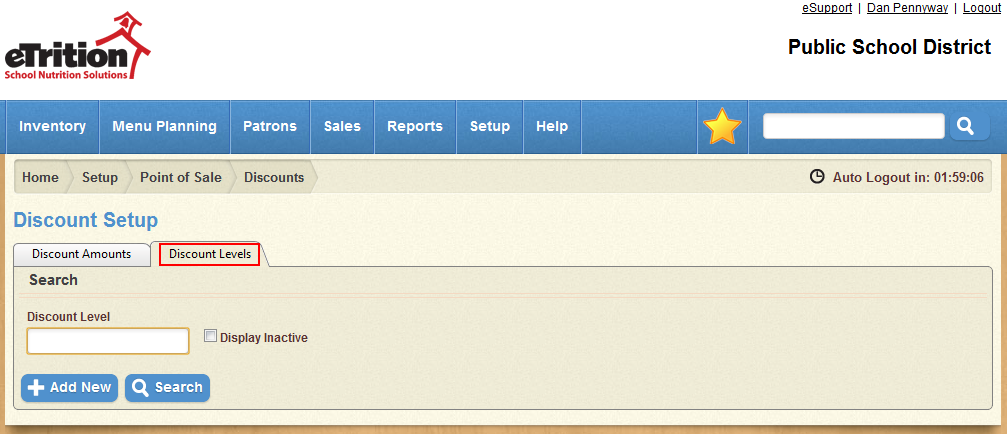
- Select the Discount Levels tab.
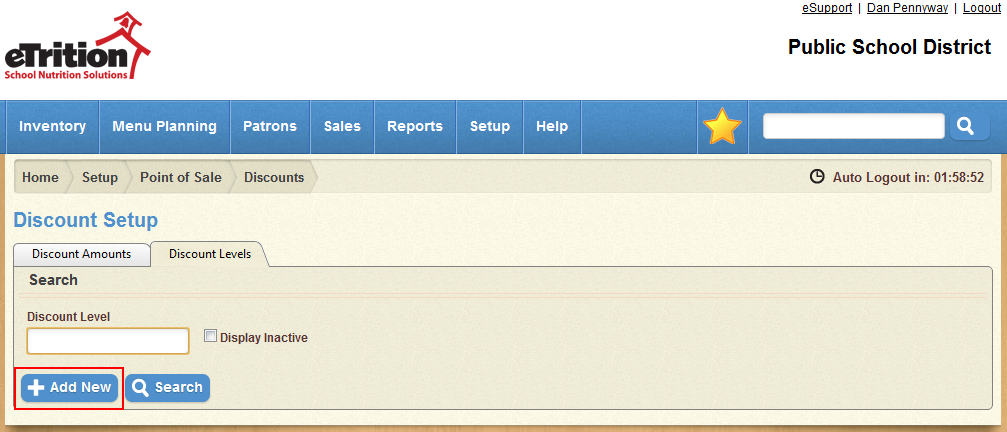
- Click “Add New”.
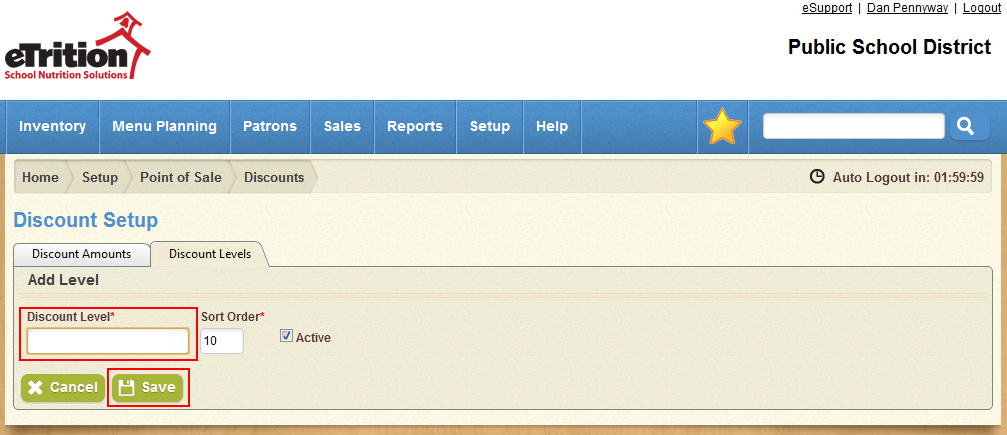
- Enter a name for the discount level you wish to create, and click Save.
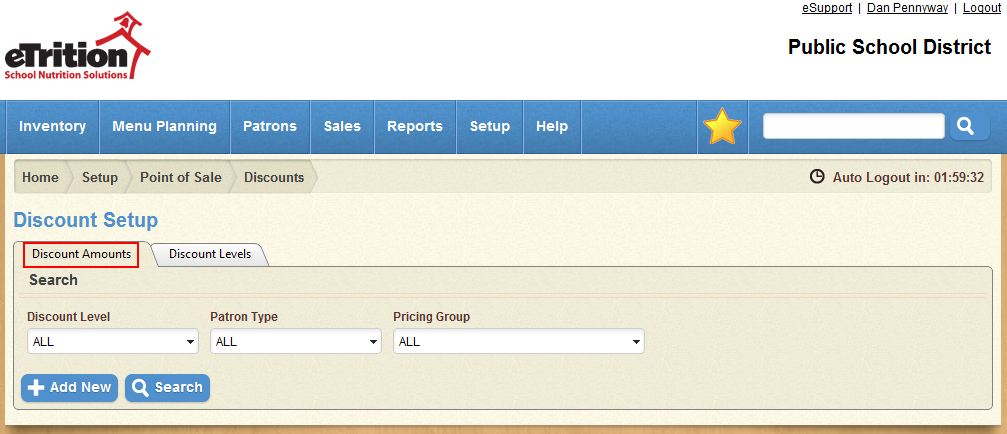
- Select the Discount Amounts tab.
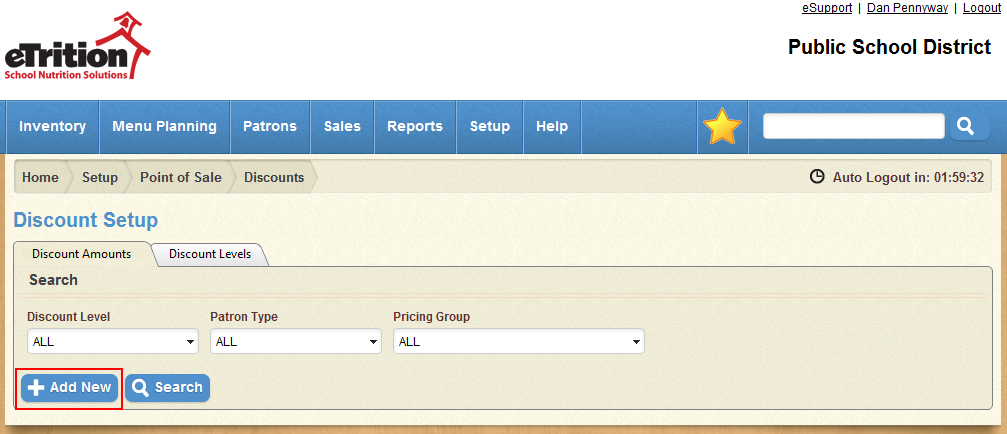
- Click “Add New”.
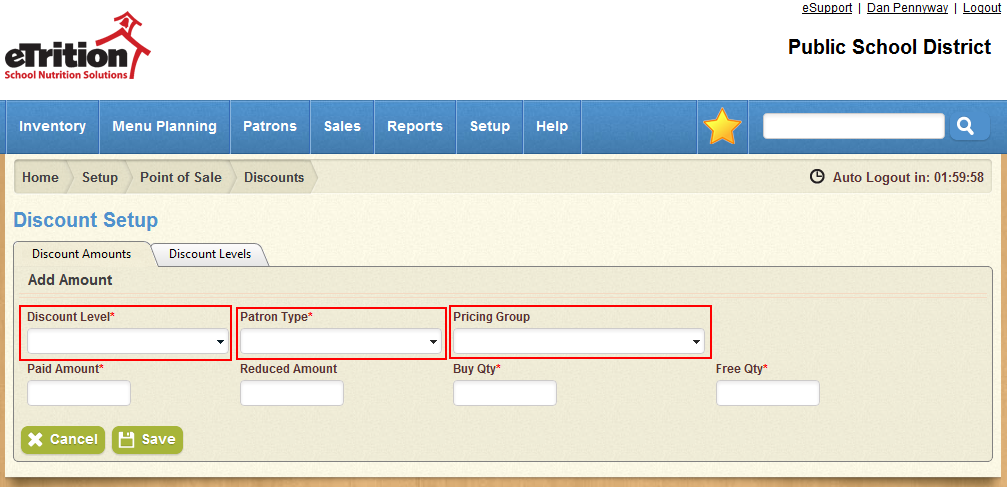
- Select the desired Discount Level, Patron Type, and Pricing Group to which the amounts you enter here will apply, using the drop-down menus provided.
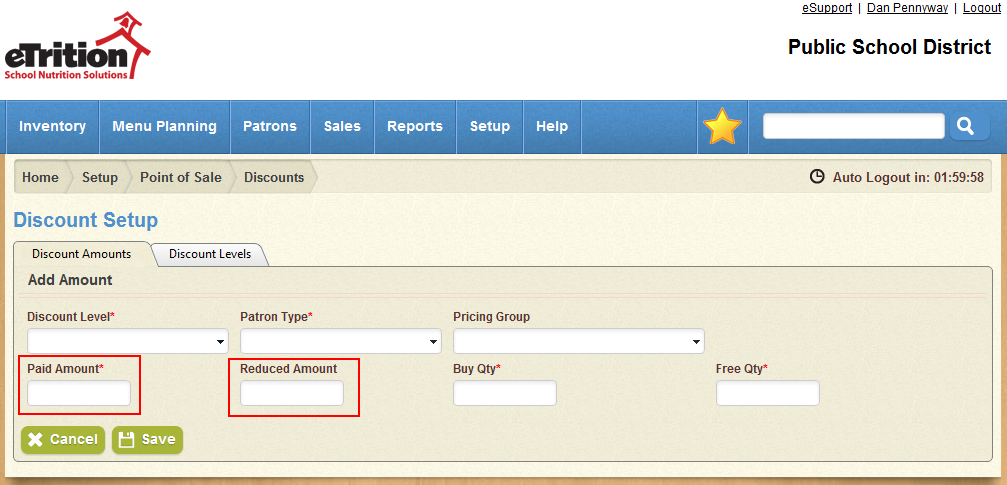
- In the Paid Amount and Reduced Amount fields, enter the amount that must be received in payment items before the discount will be activated for a given patron. The Paid Amount value will be used for patrons with an eligibility of “Paid”; the Reduced Amount value will be used for patrons with an eligibility of “Reduced”.
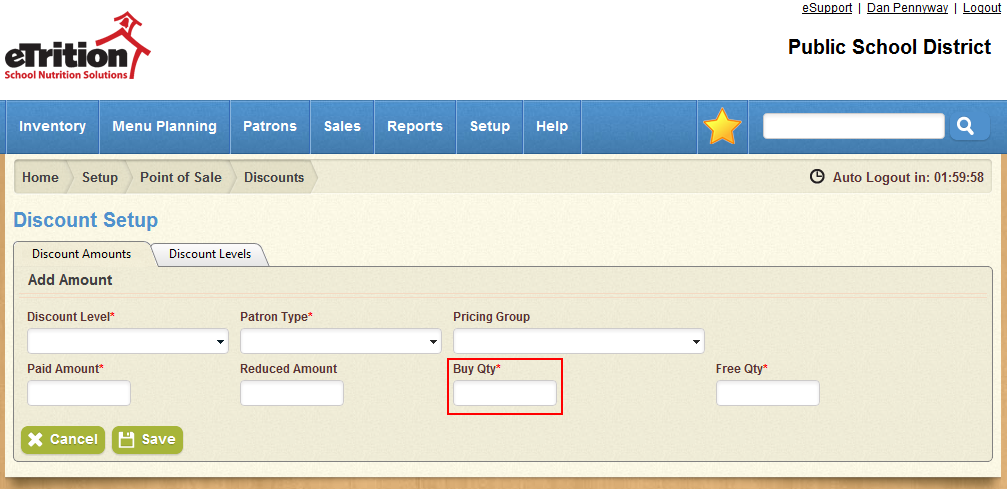
- In the Buy Qty field, enter the number of items that must be purchased before the patron will receive any free items from the selected discount.
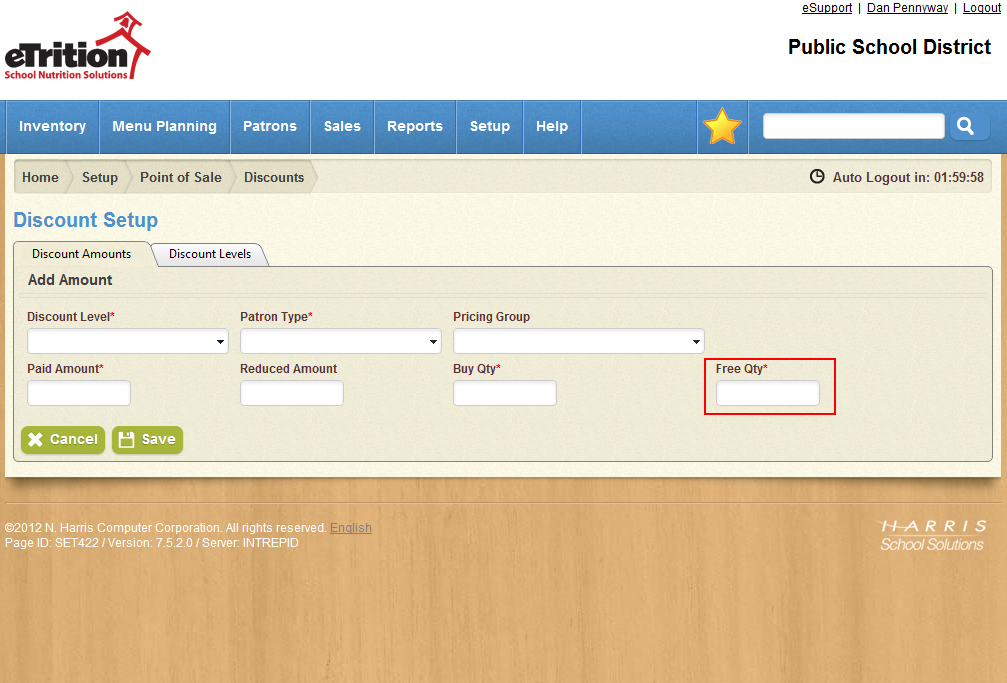
- In the Free Qty field, enter the number of items that the patron will receive at no charge once the Buy Qty has been purchased.
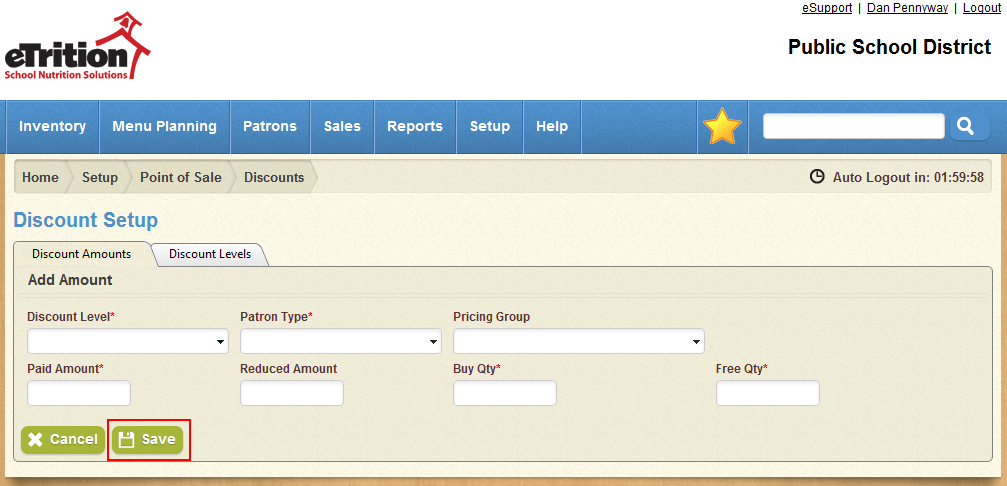
- Click Save.
Assign the Discount
The following steps must be completed for each Sales Item and Payment Item for which you wish to use the discount you created.
Assigned Sales Items will allow those items to count toward the Buy Qty entered on the Discounts screen, and the discount can then be redeemed for those sales items at no charge once the Buy Qty has been fulfilled.
Assigned Payment Items will allow those payment items to count toward the Paid Amount or Reduced Amount for the selected discount; the total of all payment items will be totaled when determining whether or not a patron qualifies for a discount.
Follow these steps to assign a discount to a Sales Item or Payment Item:
- Navigate to Setup > Sales > Sales Items (or Setup > Sales > Payment Items).
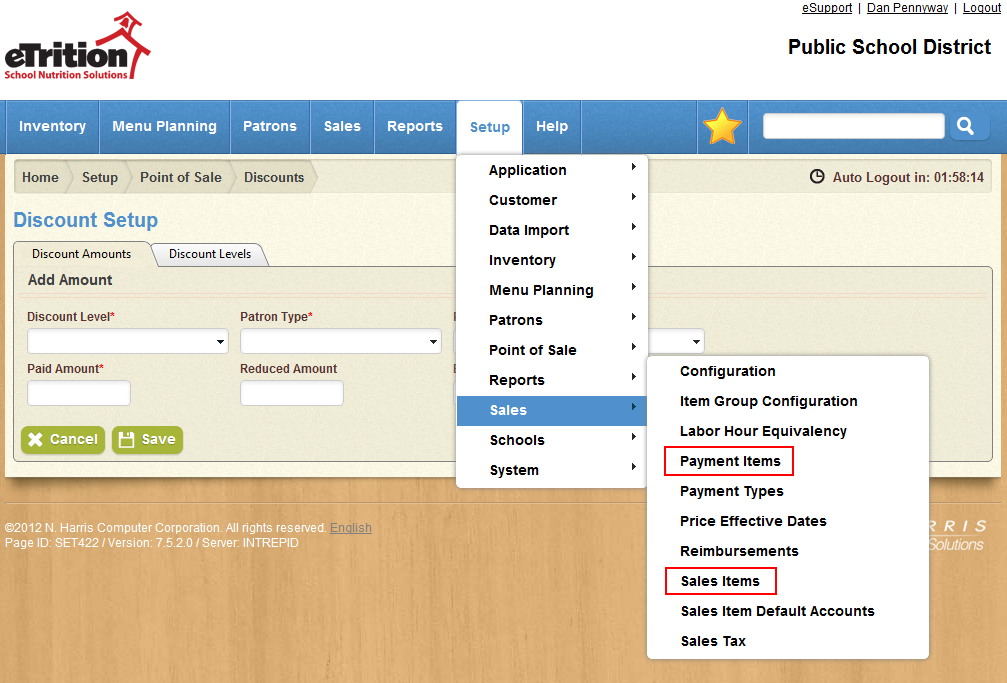
- Use the search tool to locate and select the desired sales item (or payment item).
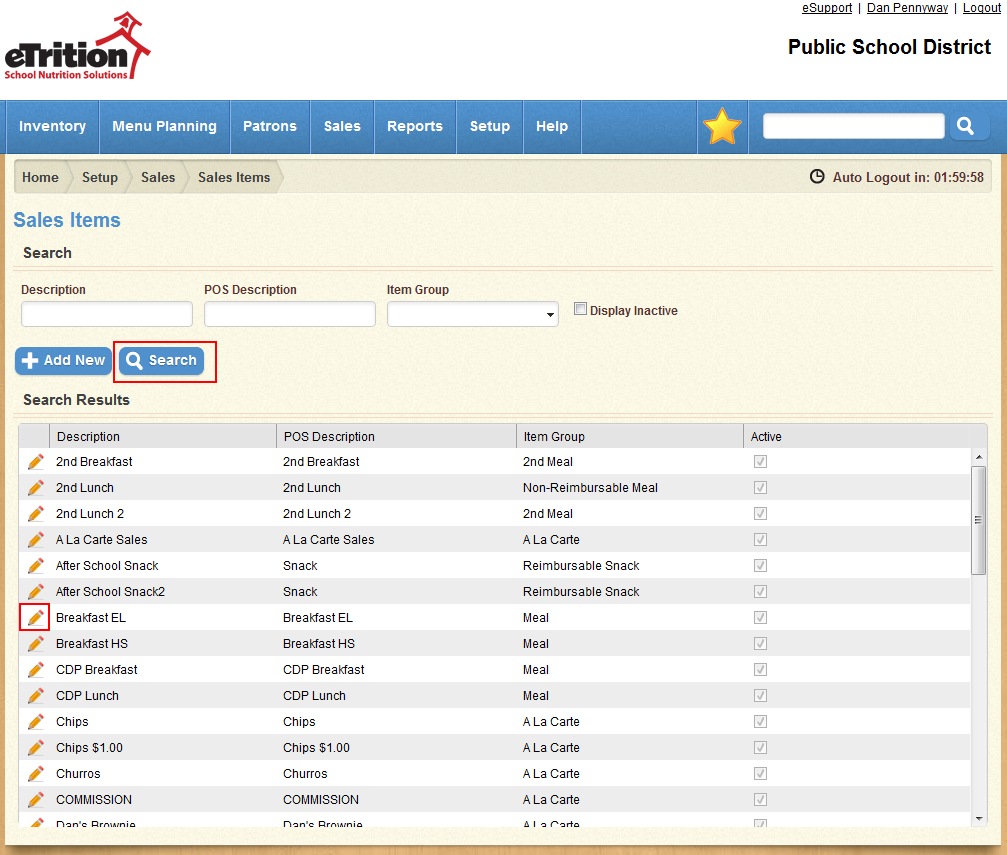
- In the Discounts drop-down menu, select the desired discount.

- Click Save, or Save and Close.

- Repeat these steps for each Sales Item and Payment Item you want to use the selected discount.
Enable Discounts
Before patrons can redeem free items received from a discount, you must first enable discounts on the Limits Configuration screen. Follow these steps to enable discounts:
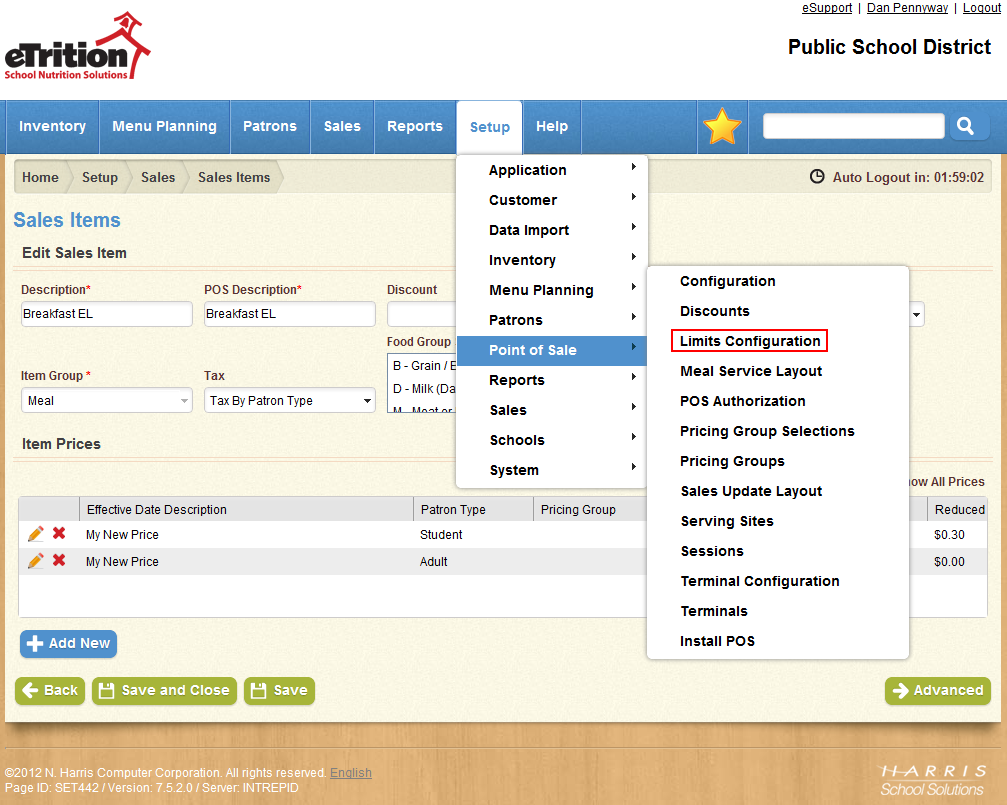
- Navigate to Setup > Point of Sale > Limits Configuration.
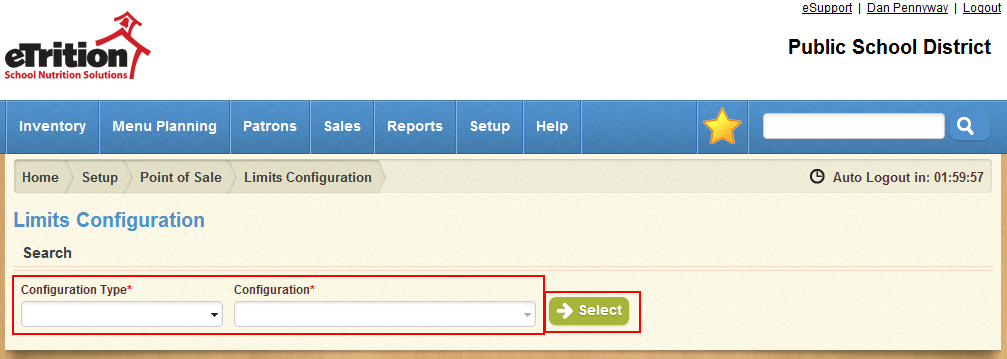
- Select the school, school type, or system setting desired using the fields provided, and click Select.
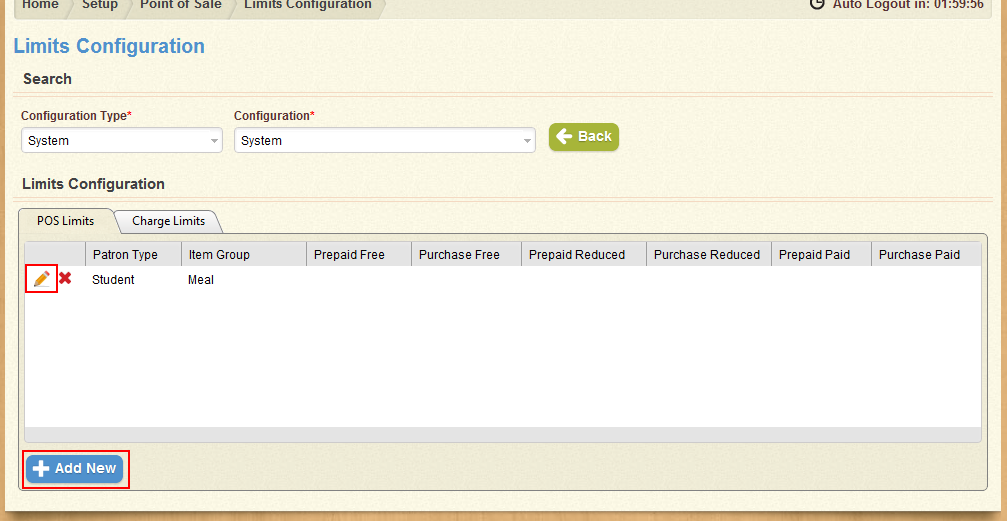
- On the POS Limits tab, edit an existing detail or add a new one by clicking the edit icon or the Add New button.
- In the window that appears, select the “Allow Discounts” option.

- Click Save.

Repeat these steps for each configuration you wish to allow discounts. Any discounted item purchased from a POS using these limits will be counted towards the Buy Qty for the selected discount, as well as any Free Items received based on that discount.


