Use the Meal Service Layout screen to create, view, and edit the Meal Service layouts for use in Point of Sale. The Layouts you create will be used to display the meal items on the POS screen, allowing users to easily select sales items for purchase and sale. The Meal Service Layout screen appears as shown below:

To view and edit an existing Meal Service Layout, use the field provided to narrow your search by POS Layout name. Click Search to generate a list of active results; to display inactive results as well, check the Display Inactive box provided. The results will be displayed as shown below:

You can sort the results by POS Layout name or Terminal Type by clicking the column headers. You can also use the  icon in the first column of each row to edit the item in that row. In addition, you can click Add New to create a new Meal Service Layout.
Clicking Add New opens the Add New Meal Service Layout screen, as shown below:

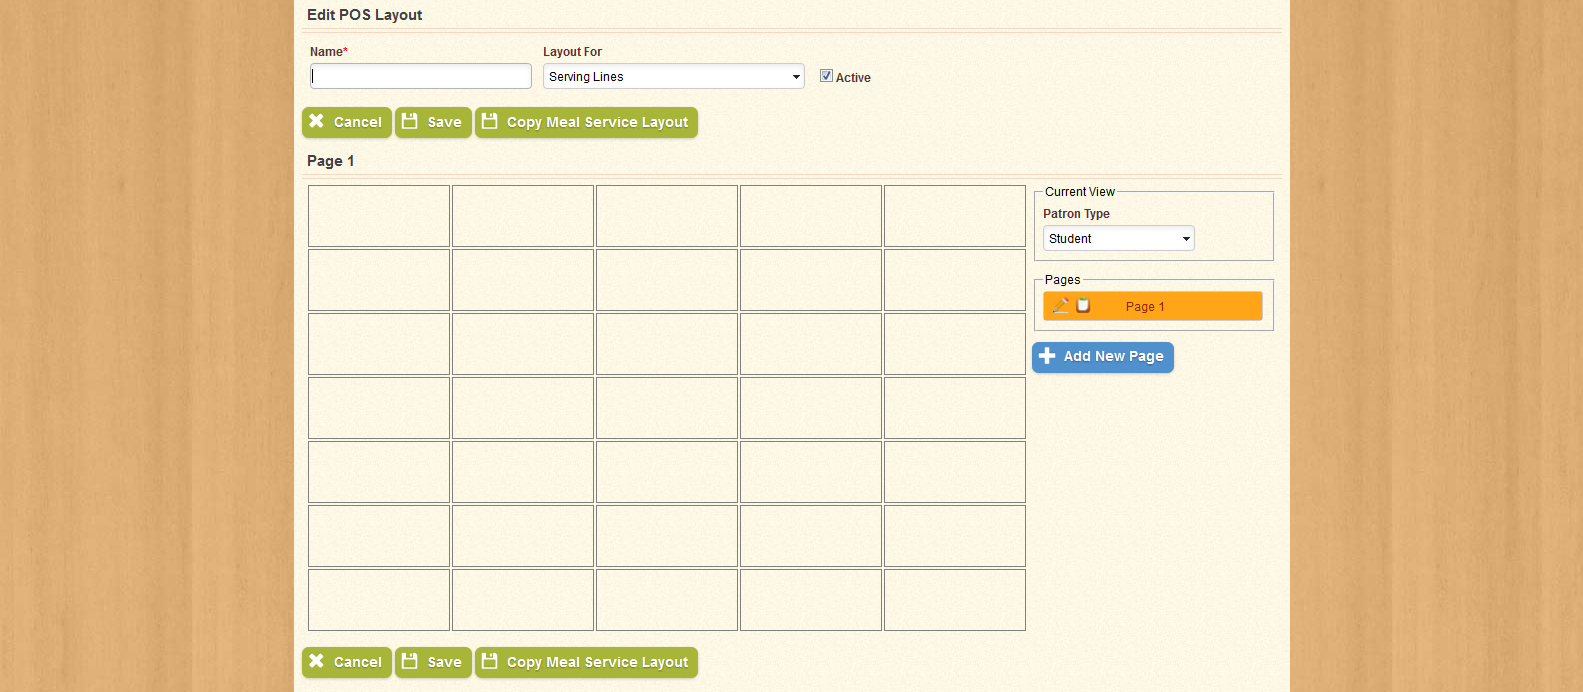
Using the fields in the first section, enter a Name for the Meal Service Layout and select whether this layout will be used for Serving Lines, Star Food Vending Machines, or Vend-ucation Vending Machines. You can also change the layout's Active status using the check-box provided.
| Important! | Fields marked with * are required; you will not be able to continue until all required fields have been filled. |
The second section of the page displays a form for the POS Layout, as shown below:

Current View allows you to select which Patron Type for which the current view will be displayed.
Pages displays a list of all the pages in the current Layout. You can use the  icon to change the name of each page, or the
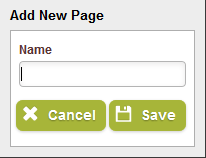
  icon to view and edit the page selected. Clicking Add New Page opens the Add New Page window:

Create a name for the new page, and click Save to create it.
The boxes in the left-hand side of the section display the items that will be available on the selected Layout. Click any one of these boxes to create a key for the layout.
Clicking any one of the boxes opens the Edit key window, as shown below:

Select a Color, Type, Sales Item, and Patron Type using the drop-down menus provided.
Note that selecting All Patrons from the Patrons drop-down menu will cause that item to be displayed for all views that do not have another key created. Enter a Label for the selected item, and click Add to add it to the list.
Also note that selecting Item from the Type drop-down menu causes the selected key to add the selected Sales Item to the purchase; selecting Page causes the key to navigate to the selected Page from Go To, which replaces the Sales Item drop-down menu.
You may create multiple keys for the same box, but you may only create one key per Patron Type; creating a second key for the same Patron Type replaces the old key with the new one.
When you have finished creating the keys for the selected box, click Close to close the window. You can remove a key from the selected box at any time by clicking the  icon in the first column of each row.
| Important! | Fields marked with * are required; you will not be able to continue until all required fields have been filled. |
| Field Name | Description |
|---|---|

|
Delete the selected item. A confirmation prompt will appear. |

|
Opens additional options for viewing details for the selected item. |

|
Open the Edit window for the selected item. |
| Active | Check this box to make the item active, or leave it unchecked to make the item inactive. |
| Color | Select the background color for the selected key item. |
| Go To Page | Designates the page to which the selected key item will navigate. |
| Label | Displays the name of the selected key item as it will appear on the Point of Sale screen. |
| Layout For | Designates the POS type that will be used for the selected Layout, such as Serving Line. |
| Name | Displays the name of the Meal Service Layout. |
| Patron Type | Designates the Patron Type for which the selected page or key item will be displayed. |
| Sales Item | Designates the Sales Item that will be sold from the selected key item. |
| Type | Designates the selected key item as either a Sales Item key or a Page navigation key. |
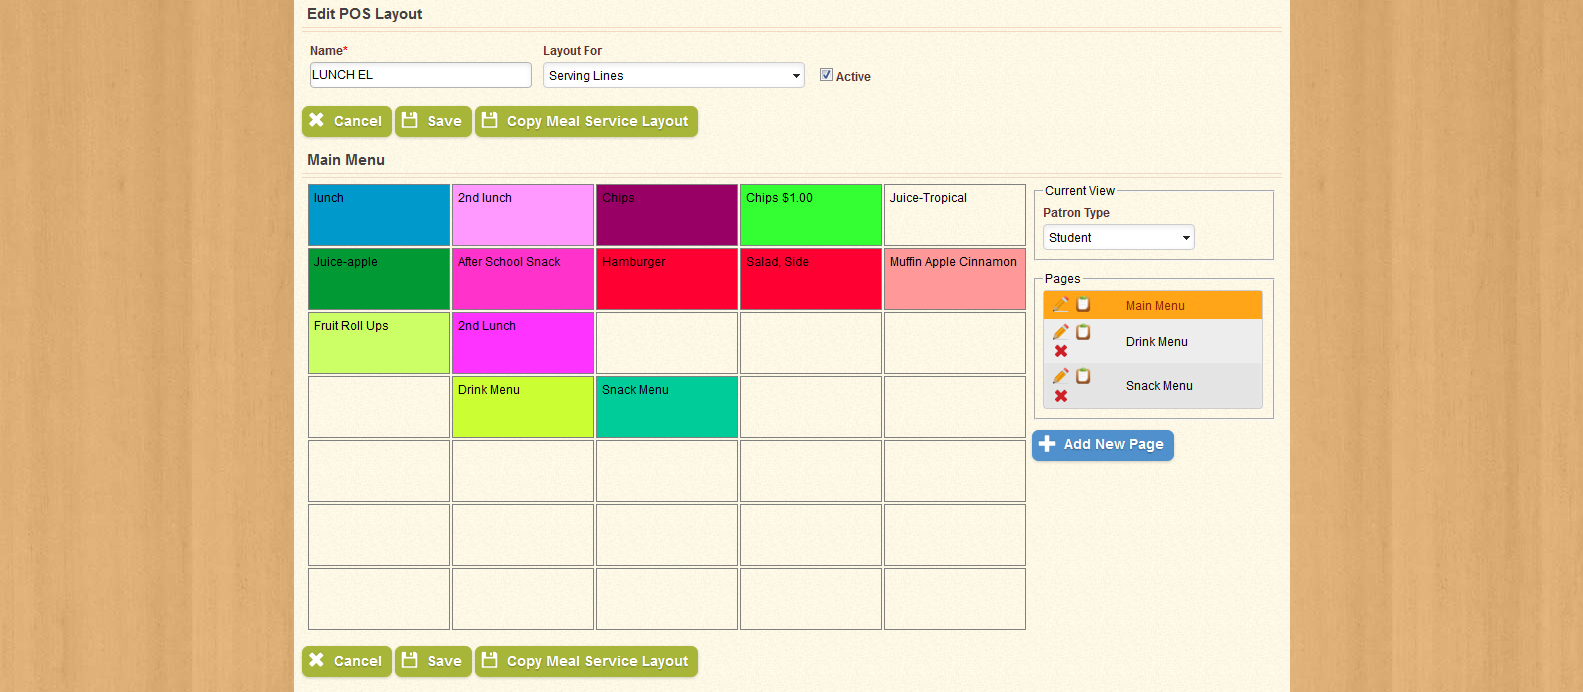
From the Search Results screen, clicking Edit opens the Edit Meal Service Layout screen, as shown below:

Use the field and drop-down menu provided in the first section to change the layout's Name and Layout Type. You can also use the check-box provided to change the layout's Active status.
You can change any of the keys and pages for the selected layout by clicking the boxes or the icons in the second section, as described above. When you have completed any desired changes, click Save to keep the changes you made; click Cancel to return to the Search Form without saving.
To create a copy of the current Layout, click Copy Meal Service Layout. This will create an exact duplicate of the current Meal Service Layout and return you to the Search Form. Note that the duplicate layout is exactly the same as the original, except that its name displays the word "Copy" after the layout's name.
| Important! | Fields marked with * are required; you will not be able to continue until all required fields have been filled. |
| Field Name | Description |
|---|---|

|
Open the Edit window for the selected item. |

|
Opens additional options for viewing details for the selected item. |

|
Delete the selected item. A confirmation prompt will appear. |
| Color | Select the background color for the selected key item. |
| Go To Page | Designates the page to which the selected key item will navigate. |
| Label | Displays the name of the selected key item as it will appear on the Point of Sale screen. |
| Layout For | Designates the POS type that will be used for the selected Layout, such as Serving Line. |
| Name | Displays the name of the Meal Service Layout. |
| Patron Type | Designates the Patron Type for which the selected page or key item will be displayed. |
| Sales Item | Designates the Sales Item that will be sold from the selected key item. |
| Type | Designates the selected key item as either a Sales Item key or a Page navigation key. |