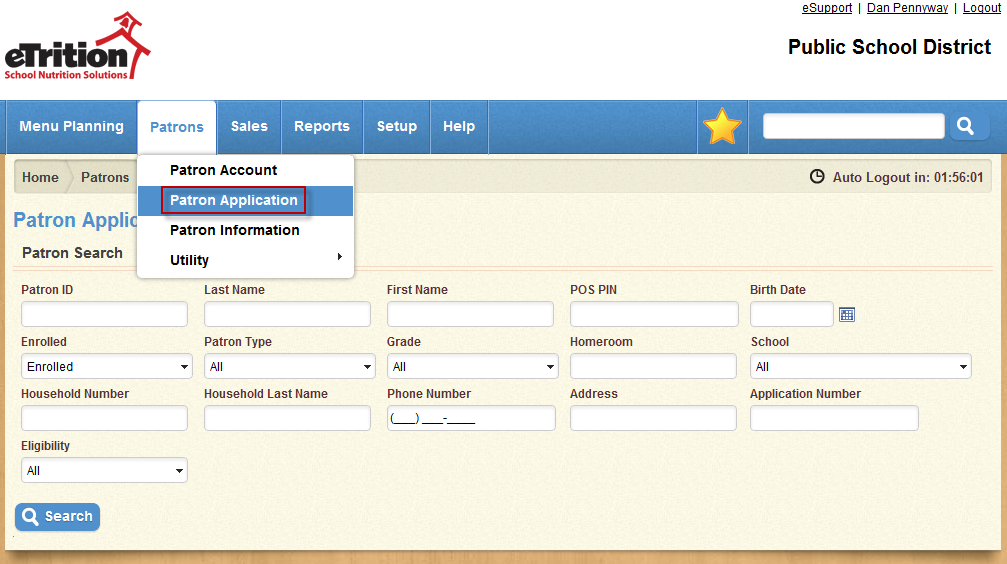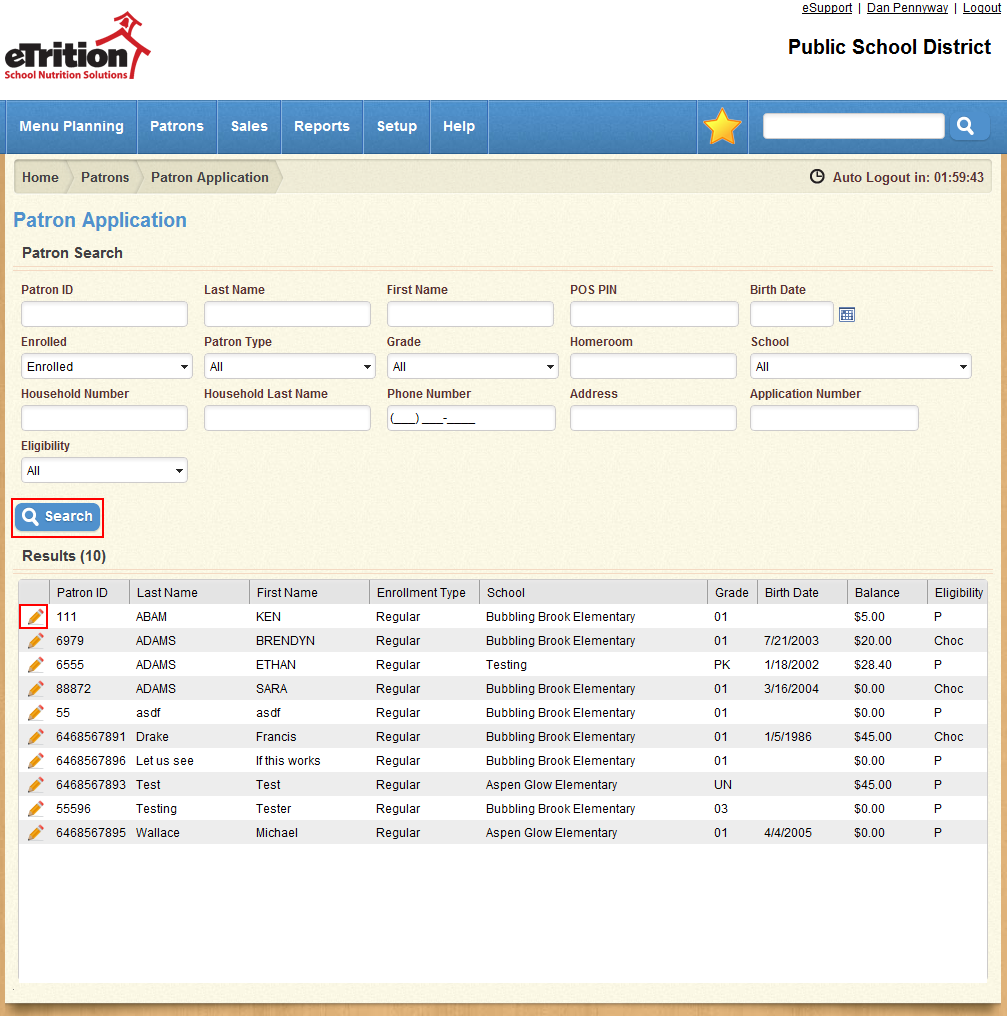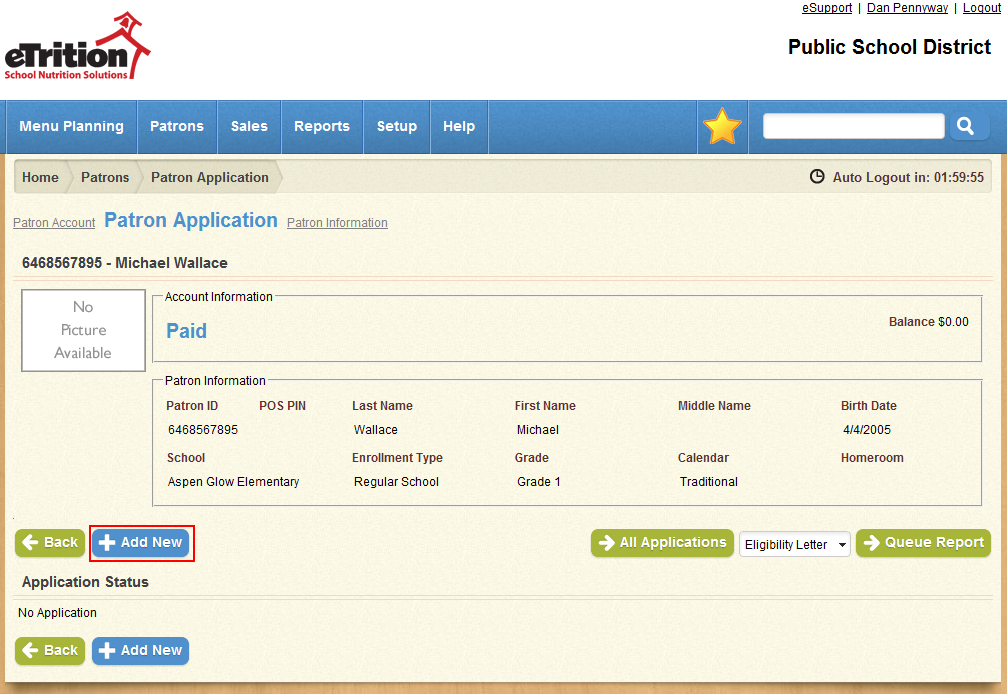

Note that if you enter sufficient search criteria to return only a single patron in the search results, you will be transferred to that patron's application screen automatically.


If you are using Application Batches, note that you will need to create the application batches for each school year in order to select them from the Batch Number drop-down menu.


Additional information about each Application Type is located here.

Note that each patron will begin with an Application Type of "Application". To change the Application Type for additional patrons on the same application, repeat step 6 for each patron as needed. Patrons added to the application will be automatically added to the Household Members table as well.

A new window will appear, allowing you to alter the Benefit Number, Benefit Type, and Start and Expiration Date for the selected patron.

Make the desired changes, and then click Save to keep the changes you made to the selected patron. Click Cancel to close this window without making any changes.

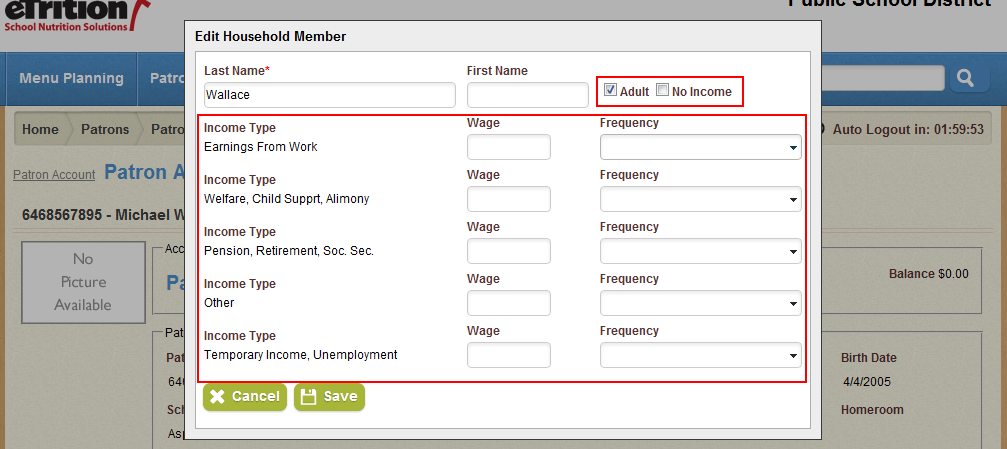
A new window will appear, allowing you to enter the household member's name, reported income, and select whether or not the household member is an adult.

Enter the Wage and select the Frequency type for each Income Type using the fields and drop-down menus provided; or select "No Income" if the household member has reported no income. Note that the household member will only appear in the "Signed By" drop-down list if the "Adult" option has been selected for that household member.
Click Save to add the Household Member to the application; note that the "Household Member" field will update to match the number of household members automatically.

Note that the only names that will appear in the "Signed By" drop-down list are the household members with the "Adult" option selected.

If no SSN was provided on the application, you may select "No SSN". This has no effect on the patron's eligibility.


When an existing application is saved, a message informs the user that the patrons’ eligibilities on the application will be altered accordingly, giving the user the opportunity to cancel the save if desired.
When an application is saved where one or more patrons have a temporary eligibility due to a reduction in benefits, the confirmation message will inform the user of this fact, giving the user the opportunity to remove the temporary status if desired.
If the patrons on a new application are already on an existing application, the message will display the names of those patrons and ask the user to confirm the new application. Confirming the new application will expire the eligibilities of any previous applications as of one day prior to the current date and create the new application as of the current date.